A well-maintained, crack-free asphalt surface with a dark coat and crisp lines is an attractive feature enhancing the value of any property. It serves as an invitation to residents, guests and customers, and adds significant curb appeal. Keeping asphalt that way demands consistent maintenance, however.
These video and blog resources will show you everything you need to know.
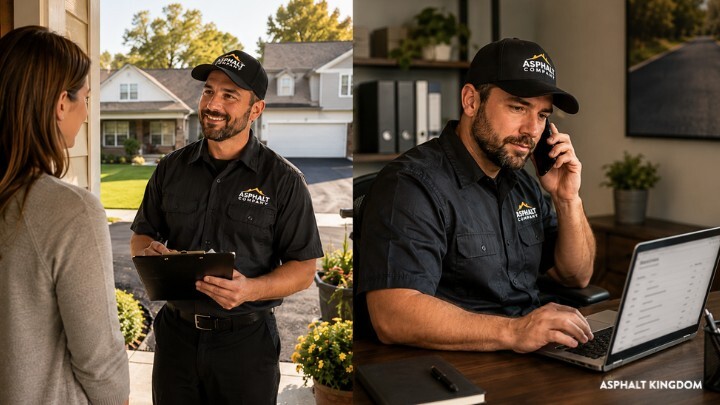
Driveways, parking lots, roads and other asphalt surfaces come in countless shapes and sizes, all requiring the same basic four steps to remain in top condition. Asphalt Kingdom President and CEO Judd Burdon outlines these critical phases, and walks you through each, in the following resource videos and blog posts.
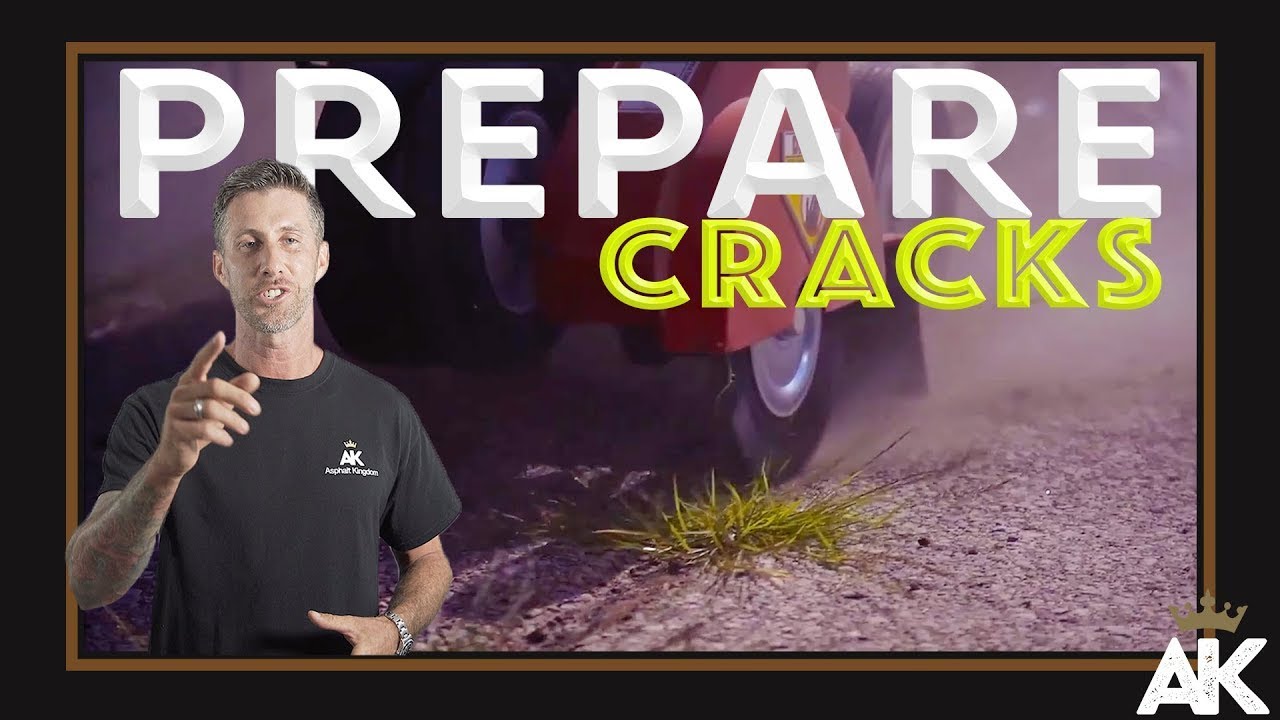
Step 1: Preparation
Any successful asphalt maintenance job begins with proper preparation. This means making sure the surface is free of debris, loose asphalt, vegetation and stains. Otherwise, you’ll have limited success, and could waste time, energy and supplies.
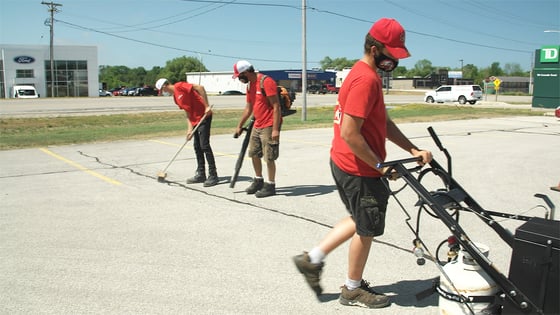
Preparing a driveway or parking lot for maintenance is fairly simple. Here are the essential tools and equipment you need to prep that surface easily and efficiently.
Poly Street Broom. Remove dirt, leaves, and dust with a heavy-duty poly street broom. It comes with hard-wearing poly bristles and ideal for cleaning small to medium-sized driveways and parking lots.
Power Broom. Cleaning a huge parking lot is simply impossible if you're using a regular poly street broom. For massive parking lots and long driveways, nothing beats a power broom. It makes prepping mall and airport parking lots easier and faster. We recommend the Bensink Rotary Broom for this task.
Gas Blower. You need a trusty gas blower to complete your asphalt surface prep arsenal. You can choose a backpack blower or walk-behind blower that's easier on your back. Great for removing dust and leaves from the pavement.
Wire Broom. Found weeds in asphalt cracks? Uprooting them by hand can be a backbreaking chore. Use a wire broom instead to clean those cracks.
Heat Lance. A wire broom is usually all it takes to get rid of weeds in asphalt cracks. But for stubborn weeds that you just can't uproot with a simple broom, then it's time to bring out the Asphalt Kingdom heat lance!
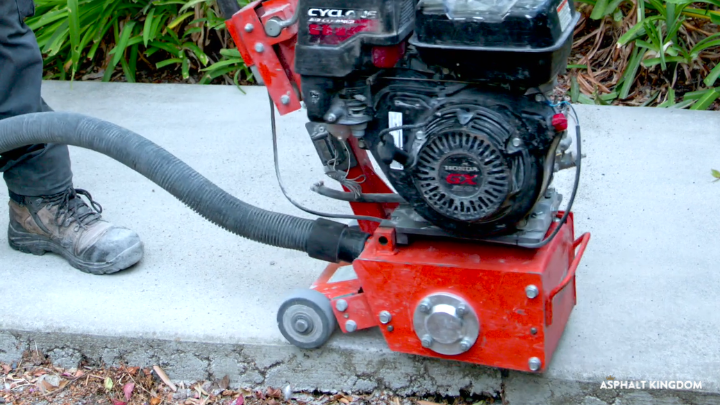
Asphalt Crack Cleaner. Filling cracks in a large parking lot? Use an asphalt crack cleaner to get rid of dirt and loose aggregate. No need for elbow grease here – just crank up the machine and start cleaning right away.
Sidewalk Edger. Don't let asphalt sealer get into your customer's lawn! Clean it off first with Asphalt Kingdom's Sidewalk Edger.
And now for the surface prep itself. Here’s a helpful framework for how to approach this first step:
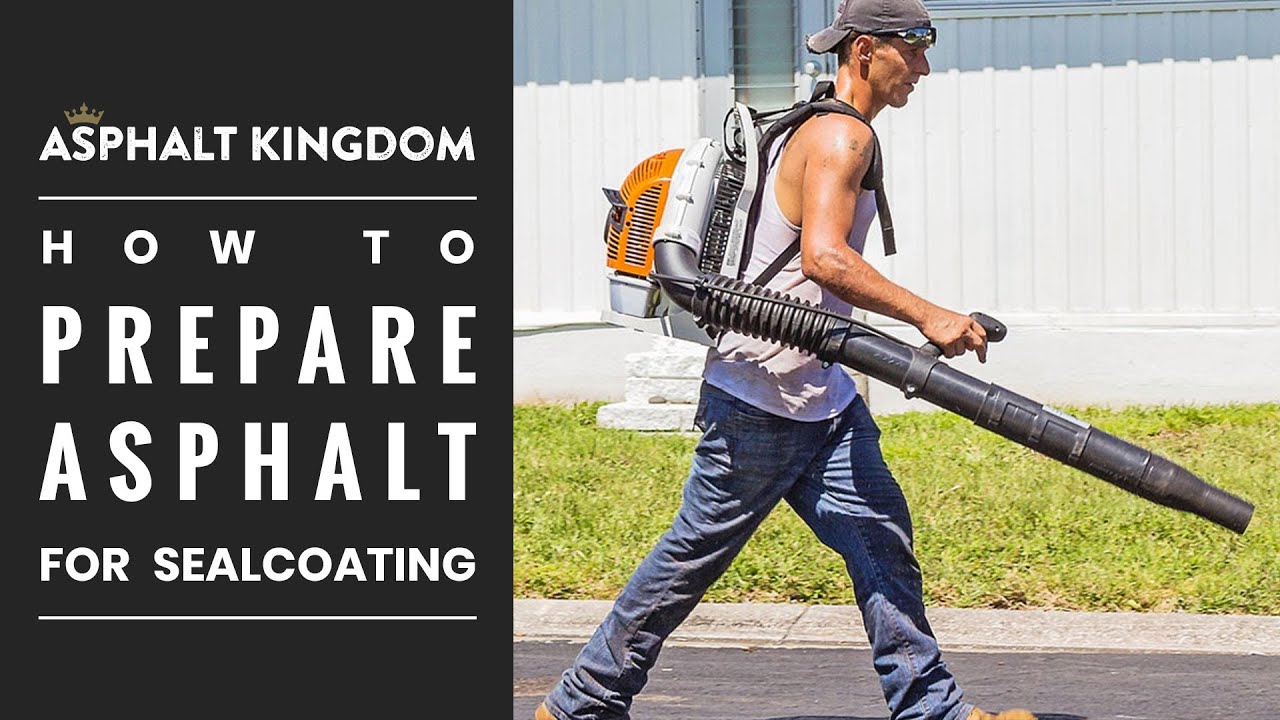
Judd reviews asphalt preparation basics.
From the blog:
- The Top Ways to Remove Paint from Concrete
- How to Remove Oil Stains From Your Driveway or Parking Lot
- Parking Lot Surface Preparation
- Asphalt Cleaning: Do It For Looks Do It For A Longer Lifespan
- What’s The Right Cordless Blower For Your Property?
- A Push Blower Has You Working Smarter, Not Harder, On Driveway Prep
- Cleaning Asphalt For Sealcoating Success: Don’t Miss This
- Oil Stain Remover
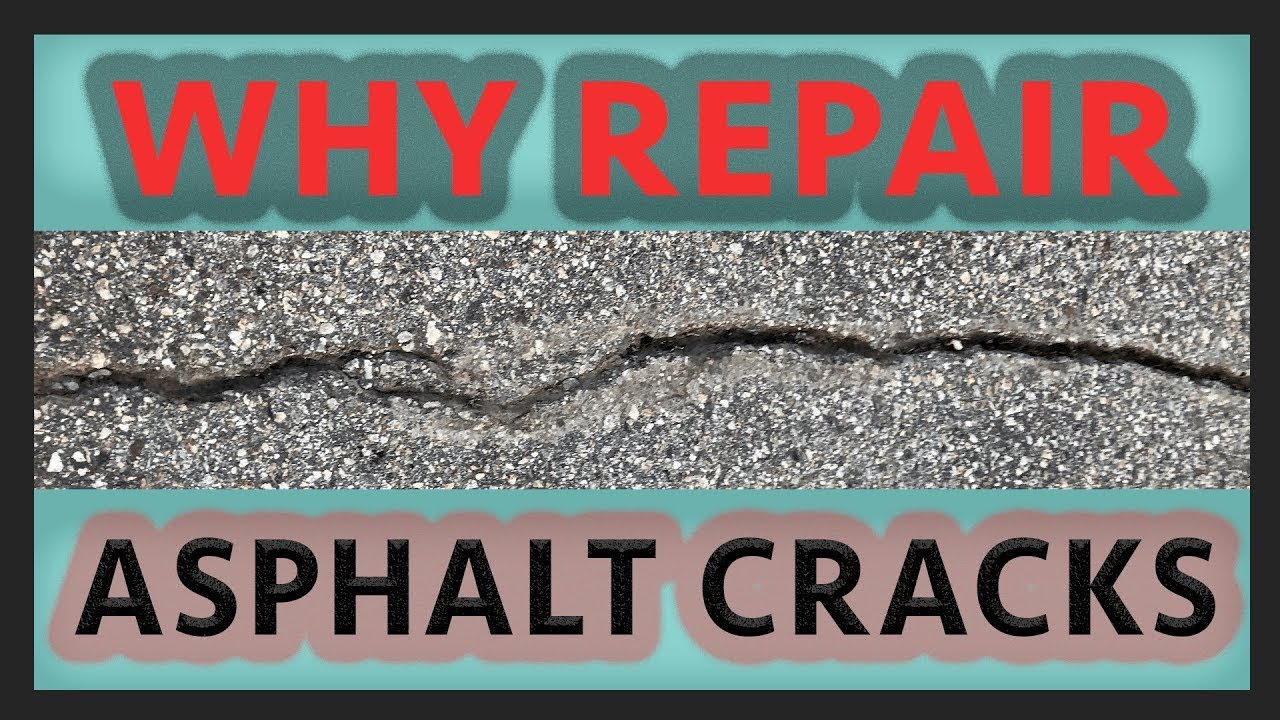
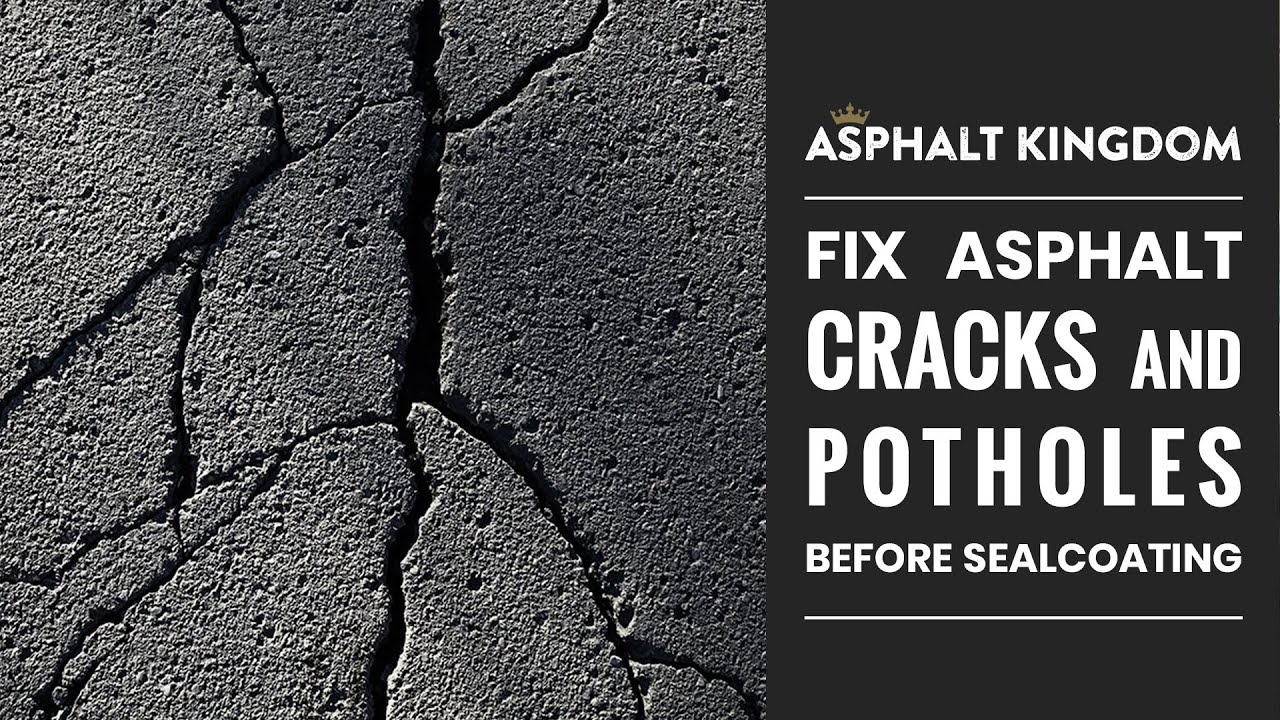
Step 2: Crack Repair & Pothole Patching
Once the blacktop has been properly cleaned and prepared for maintenance, the next step is to repair cracks and potholes. An asphalt crack creates a foothold for the elements to begin deteriorating the surface. Left unchecked, cracks can expand, and eventually turn into potholes.
Skipping this step would be like painting over a crumbling dam—not exactly fixing the most pressing problem!
Sealing up cracks and patching potholes as they occur will prevent further damage and more large-scale excavation and replacement in the future.
But first! Here are some materials, tools, and equipment you must have to fill cracks the right way.
Crack Filling Supplies
Liquid Crackfiller. Ideal for DIY use on residential driveways and small commercial properties. Suitable for narrow and shallow cracks and available in 1-gallon bottles.
Gator Patch. Simply the best patch for asphalt marred with alligator cracks. Brings back the pavement's smooth and blemish-free surface.
Crack Filler. This product is ideal for sealing large parking lots and longer driveways. It is commonly applied using a crack filler melter machine or a pour pot.
Crack Filling Equipment
Choose from a wide array of crack filling machine that best fits your application. Start with the RY10 Asphalt Crack Fill Machine and work your way up to the KM 55 Stationary Crack Filling Rubber Melter Kettle.
Pothole Patching Supplies and Equipment
Asphalt Pothole Patch. Filling potholes with cold patch is easier with Asphalt Kingdom products. Check out Pothole Patch and Aquaphalt 6.0 Concrete and Asphalt Patch to get started.
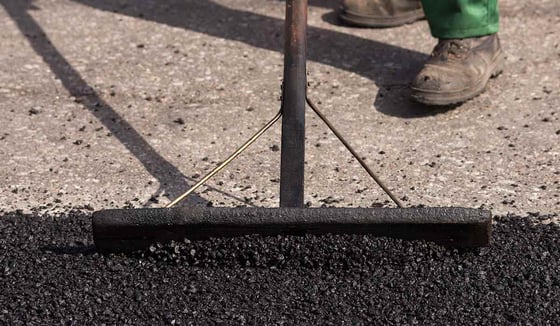
Asphalt Lute or Rake. These tools are used to rework softened asphalt.
Infrared Asphalt Heater. Heats and softens asphalt to a workable state for pothole patching. A must-have for contractors who wish to offer infrared patching and edge repair to clients.
Tamper Tool. A tool used to compact a newly patched section of a pavement.
Plate Compactor or Asphalt Roller. Compacting large areas or just want the task to be more efficient? Use a plate compactor or asphalt roller.
Asphalt Millings Rejuvenator. Rejuvenates oils and binders in recycled asphalt millings.
Asphalt Hot Box. Stores and keeps asphalt at optimum temperature for patching.
These videos and articles will show you how to get started:
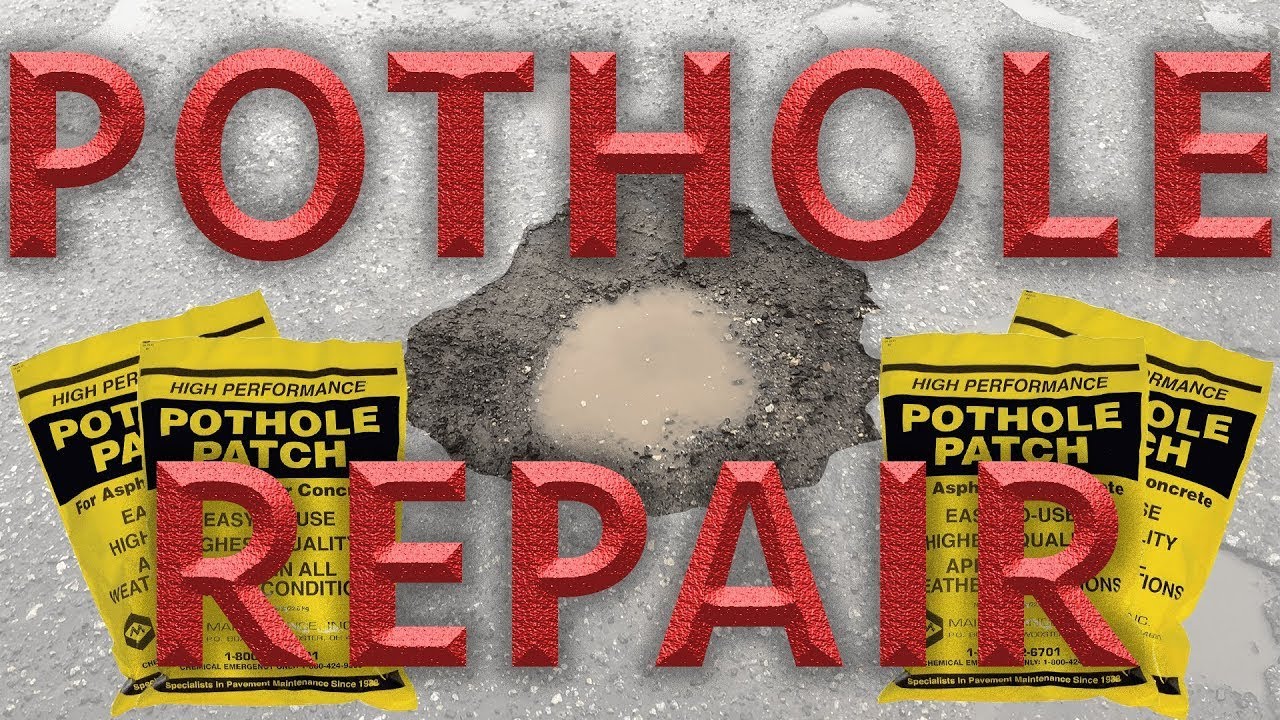
Find out when it’s time to use asphalt cold patch, and how to apply it to fix a pothole.
From the Blog:
Step 3: Sealcoating
Filling cracks and patching potholes is an effective way of repairing damage that has already occurred, but sealcoating is one of the most important steps to helping prevent future damage to the asphalt surface.
That’s because a good layer of asphalt sealer, reapplied every two years or so, keeps the blacktop flexible and creates an important, protective barrier between the asphalt and the elements.
Here are the materials and equipment you need to seal a driveway or parking lot.
Asphalt Sealer. A black and viscous substance used to seal and protect asphalt driveways and parking lots. There are different types of sealer available, but using asphalt emulsion is highly recommended.
Sealcoating Squeegee. A tool used to apply asphalt sealer. Ideal for sealcoating residential driveways and small commercial parking lots.
Sealcoating Sprayer Machines. A must-have for applying asphalt sealer on large commercial and industrial parking lots. Sprayer systems include a tank, pump, engine, hose, and spray wand.
Sealer Additives. A substance used to speed up asphalt sealer drying time.
Applying asphalt sealer is simple enough, especially when you follow the advice shared within these resource videos:
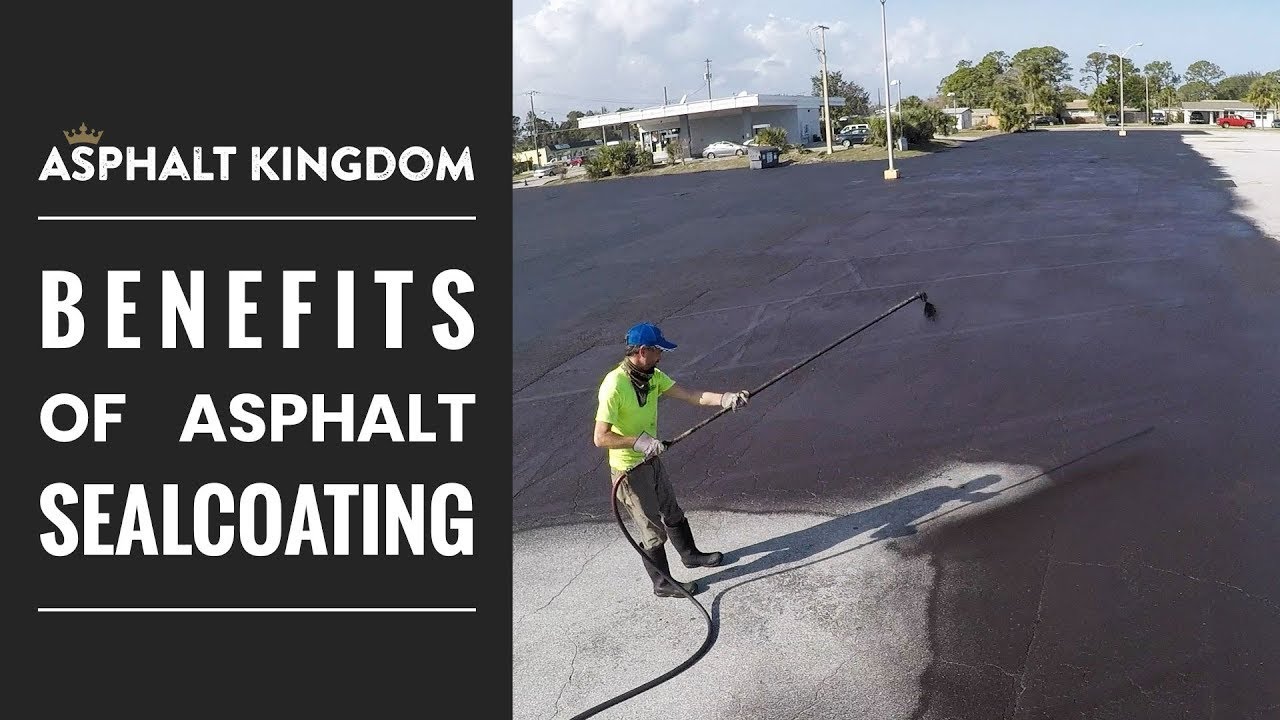
Want to learn the four major ways sealcoating protects asphalt and how to tell when it’s time to reseal? This video’s got you covered.
It might sound strange, but asphalt maintenance is a lot like taking care of your teeth! Judd explains why the order of asphalt maintenance tasks is key.
The job isn’t over once the sealer has been applied. Find out what to do after sealcoating to get the best, lasting results.
From the Blog:
- How Sealcoating Protects Asphalt
- How a Sealcoat Sprayer Works
- Best Accessories for Your Sealcoating Equipment
- Priming Your Sealcoat Spray System
- Spray Tip Sizes
- Asphalt Sealcoating Equipment: Learn What You Need
- Why Choose Asphalt Emulsion Sealer For Your Next Job
- Bulk Sealer Tanks – Save Time and Money on Large Jobs
- Is It Time To Tar Asphalt? Five Ways You Can Tell!
- Asphalt Sealcoating System Tip: Losing Pressure at the Spray Tip
- Water Evaporation in Sealcoating Tanks
- How To Care For Sealcoating Machines
- Storing Asphalt Sealer The Right Way Protects Your Product
Step 4: Line Striping
Line striping is the fourth and last stage of the asphalt maintenance cycle. It’s the process of repainting the lines that direct traffic where to drive and park.
If you’ve just sprayed a layer of asphalt sealer over your existing lines, then it’s important to line stripe, immediately. Otherwise, the lot will look unfinished and drivers won’t know where to go, resulting in chaotic and even dangerous situations
Fortunately, the line striping process isn’t difficult, and these resources will help you know where to start:
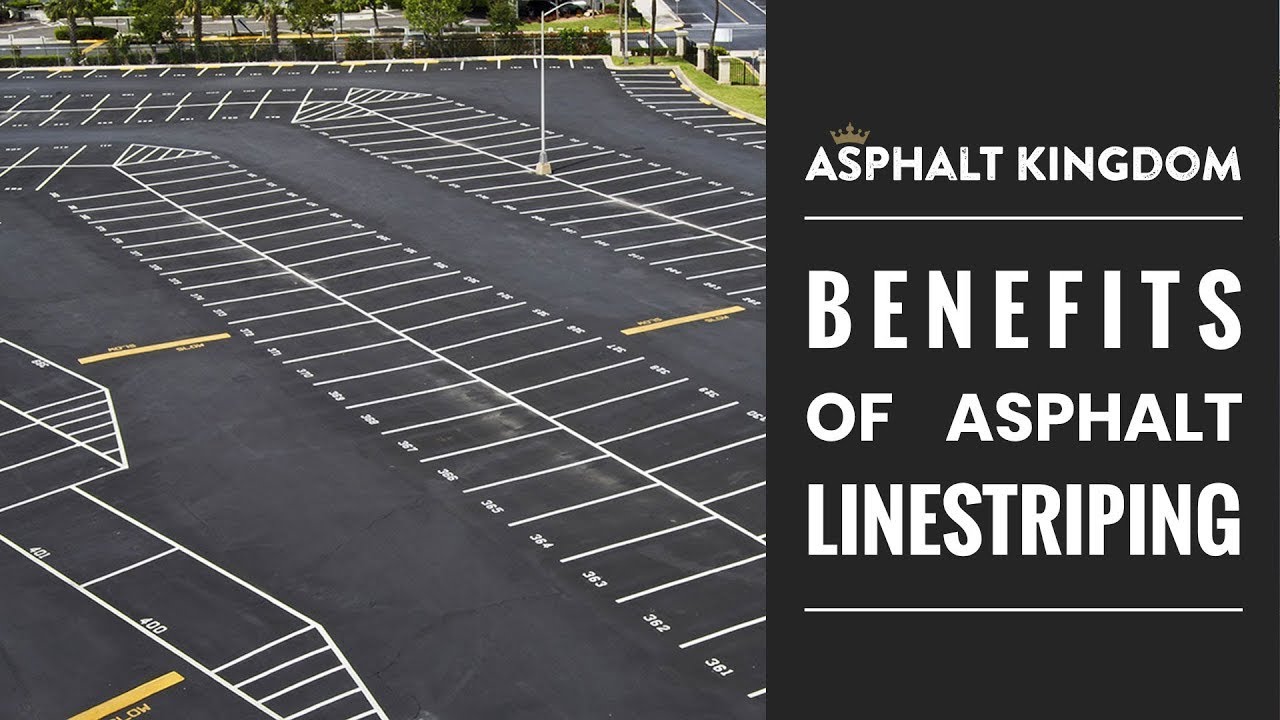
Judd explains the top reasons why it’s important to maintain clean parking lot lines.

Like other maintenance steps, line striping requires proper preparation. Find out what you need to do before you paint your lines.
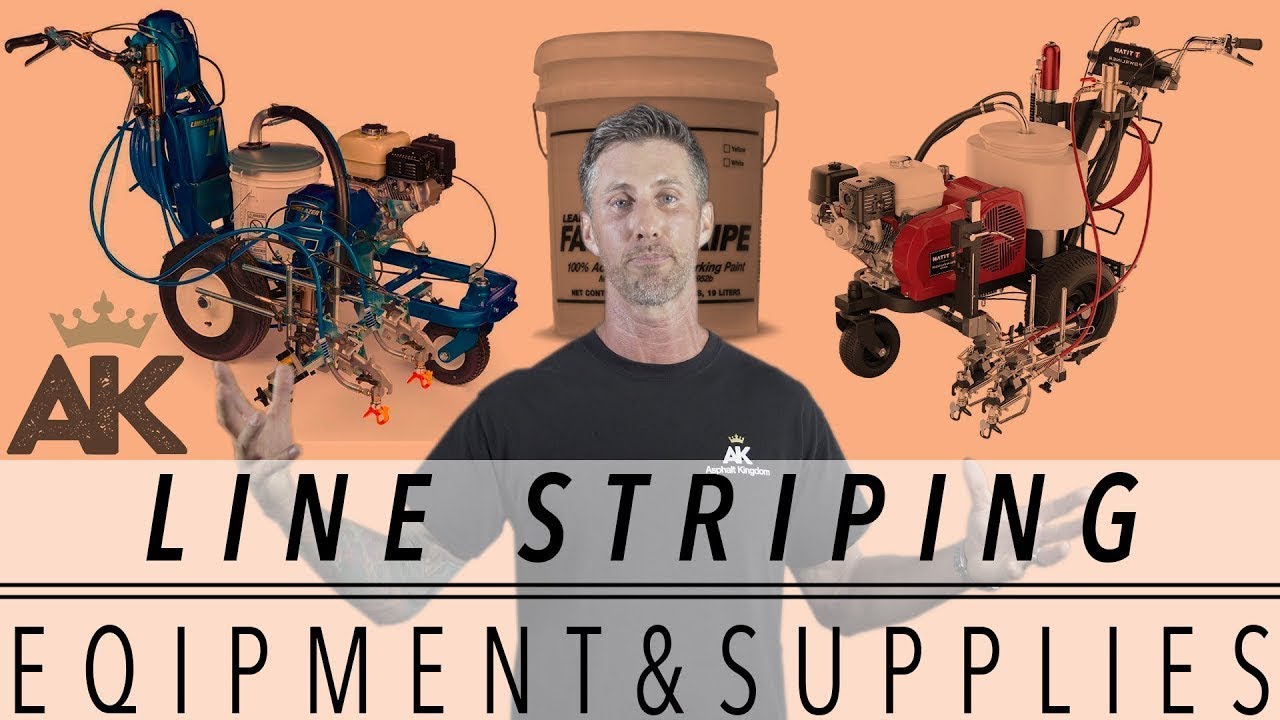
Different line striping machines are better suited for different jobs. Learn which types might be right for your projects.
Asphalt Maintenance Guidelines
 Crack filling using a crack fill machine
Here are comprehensive guidelines and precautions to follow while performing asphalt maintenance tasks.
Plan ahead. Start by creating a maintenance plan that includes regular inspections, cleaning, and repairs. This plan should be based on the current condition of your asphalt, its age, usage, and the local climate.
Use the right equipment. Always use the appropriate tools and equipment for each maintenance task.
For example, use a broom or blower for cleaning, a crack sealing machine for sealing cracks, and a sealcoating sprayer for applying sealcoat.
Safety first. Ensure the safety of yourself and others by using proper safety gear like gloves, safety glasses, and high-visibility clothing.
Also, place warning signs and barricades if necessary to inform others about the ongoing maintenance work.
Clean the surface. Before starting any repair or sealcoating work, thoroughly clean the asphalt surface.
Remove all debris, leaves, and dirt. Also, clean any oil or fuel spills using appropriate cleaning agents.
Repair damages. Fill any cracks and potholes with a suitable crack filler or patching material.
Make sure to compact the repair area properly to ensure a smooth and durable finish.
Apply sealcoat. Regularly apply a sealcoat to the asphalt surface. This not only enhances its appearance, but also provides a protective layer against water, oil, and UV rays.
Make sure the asphalt surface is completely dry and clean before applying the sealcoat.
Maintain proper drainage. Regularly check and maintain the drainage system.
Ensure that water is draining away from the asphalt surface properly to prevent water damage.
Consider the weather. Always consider the weather before performing any asphalt maintenance work.
Avoid doing maintenance work during rainy or extremely hot days. The best time for asphalt maintenance is during dry and mild weather.
Monitor traffic. Keep an eye on the traffic on your pavement. High traffic volumes and heavy vehicles can lead to faster wear and tear.
If necessary, redirect traffic during maintenance activities to prevent further damages.
Stay consistent. Consistency is key to successful asphalt maintenance. Stick to your maintenance plan and adjust it as necessary based on the condition of your asphalt and any unforeseen issues.
Related: Asphalt Business Tips: How to Get More Reviews From Customers
Asphalt Kingdom's Top Asphalt Maintenance Tips
 Patching a pothole
The key to prolonging asphalt pavement lifespan? Inspect it regularly
This is the first and most crucial step in asphalt maintenance. Regularly check your pavement for any signs of wear and tear, like cracks, potholes, or faded lines. These are early signs that your asphalt needs attention.
Fix damages as soon as you spot them
Do not wait for small damages to escalate. Act fast and repair minor cracks and potholes as soon as you notice them. Delaying repairs can lead to more significant problems and higher maintenance costs in the long run.
Improve driveway or parking lot drainage
There's nothing asphalt hate most than standing water. Ensure that your pavement has a well-maintained drainage system to prevent water from pooling on the surface. Standing water can weaken the asphalt, leading to cracks and other damages.
Seal asphalt every two or three years
Regularly apply a sealcoat to your asphalt surface. This not only gives your pavement a fresh, new look but also provides a protective layer that prevents water, oil, and UV rays from penetrating the asphalt.
Seal cracks asap
Cracks are inevitable, but they can be managed. Regularly sealing the cracks in your pavement prevents water from seeping into the base layer, which can cause more significant issues.
Keep it clean
Regularly clean your asphalt surface. Remove debris, leaves, and trash, which can block drainage and cause water to pool on the surface. Also, clean any oil or fuel spills immediately as they can deteriorate the asphalt surface.
Always take climate into consideration
The maintenance activities you perform should depend on the climate of your region. For example, in colder regions, snow and ice can cause cracks and potholes. In such cases, it's essential to frequently inspect the pavement and perform necessary repairs.
Monitor the traffic on your pavement
Heavy vehicles and high traffic volumes can lead to faster wear and tear. If your pavement is experiencing higher than usual traffic, you may need to increase the frequency of your maintenance activities.
Related: Getting The Most Out of Your Old Asphalt Equipment
Conducting Asphalt Maintenance During Winter
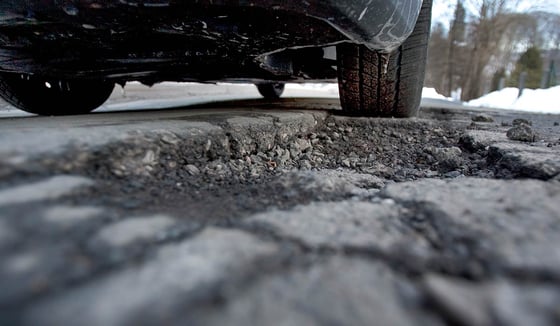 Potholes can pop up during winter
Winter can be particularly harsh on asphalt surfaces. The cold temperatures, snow, and ice all present unique challenges for asphalt maintenance.
Discover the different challenges you'll encounter during maintenance and read our recommendations for protecting your pavement from winter damage.
Freeze-Thaw Cycles. The repeated freezing and thawing of water in the cracks and pores of the asphalt can cause the pavement to expand and contract, leading to the formation of cracks and potholes.
👉 Recommendation: Regularly seal the cracks in the pavement before winter starts to prevent water from seeping into the base layer.
Snow and Ice. Accumulation of snow and ice on the asphalt surface can lead to water penetration and damage once it melts. Also, the use of snow removal equipment can scrape and damage the surface.
👉 Recommendation: Promptly remove snow and ice from the surface. Use snow removal equipment carefully and consider using snow melting products that are safe for asphalt surfaces.
De-Icing Chemicals. Some de-icing chemicals can cause the asphalt surface to dry out and become brittle, leading to cracks and other damages.
👉 Recommendation: Use de-icing products that are specifically designed for use on asphalt surfaces. Avoid using rock salt as it can be particularly damaging to asphalt.
Heavy Traffic. The weight of heavy vehicles and snow removal equipment can cause the asphalt surface to crack and deteriorate faster.
👉 Recommendation: Monitor the traffic on your pavement and, if necessary, restrict access to heavy vehicles and equipment.
Cold Temperatures: Asphalt becomes more brittle and prone to cracking in cold temperatures.
👉 Recommendation: Try to schedule any necessary asphalt repairs for the warmer months. If repairs are necessary during winter, make sure the asphalt mix is designed for cold weather use.
Related: Three Ways to Perform Emergency Asphalt Repair in Winter
Asphalt Maintenance Frequently Asked Questions
1. How often should I perform asphalt maintenance to keep my pavement in good condition?
Ideally, you should inspect your pavement at least twice a year, in the spring and fall. Minor repairs like crack sealing should be done as soon as cracks appear. Sealcoating should be applied every 2-3 years, and potholes should be repaired promptly.
2. What are the primary steps involved in asphalt maintenance?
Primary steps in asphalt maintenance include regular inspections, prompt repairs of cracks and potholes, proper cleaning, maintaining proper drainage, sealcoating, and monitoring traffic.
3. Can I perform asphalt maintenance on my own or do I need to hire a professional contractor?
Minor maintenance tasks like cleaning, minor crack sealing, and small pothole repairs can be done on your own if you are comfortable with DIY tasks.
However, for larger jobs like sealcoating, major crack repairs, or infrared pothole patching, it is recommended to hire a professional contractor to ensure the job is done correctly and will last.
4. How much does asphalt maintenance typically cost, and what factors influence the overall cost?
The cost of asphalt maintenance can vary widely based on several factors, including the size of the area, the extent of the damage, the materials used, and the region you are in.
On average, you can expect to pay around $0.25 to $0.50 per square foot for basic maintenance like crack filling.
More extensive repairs like pothole filling can cost $100 to $150 per pothole.
5. What types of equipment are used in asphalt maintenance?
Common equipment and materials used in asphalt maintenance include brooms or blowers for cleaning, crack sealing machines, and sealcoating sprayers.
6. Are there specific guidelines or best practices for maintaining asphalt driveways versus parking lots or roads?
While the basic maintenance steps are the same for all types of asphalt surfaces, there are some differences to consider.
Driveways generally experience lighter traffic and may not need as frequent maintenance as parking lots or roads.
Parking lots often require more regular maintenance due to higher traffic volumes and the use of heavy vehicles.
From the Blog:
- How to Prepare for Line Striping
- The Benefits of Using a Line Striping Machine
- When Should I Restripe My Parking Lot?
- Three Common Asphalt Striping Mistakes You Need To Avoid
- Choose Large Stencil Letters for Your Painting Business
- Choose the Right Letter Stencils for Painting
- For Successful Line Striping You Need To Use Bitumen Paint
To learn even more about asphalt maintenance, check out our list of Free Courses.

.png?width=200&height=300&name=First%20page.pdf%20(1).png "Start a Business Blueprint")