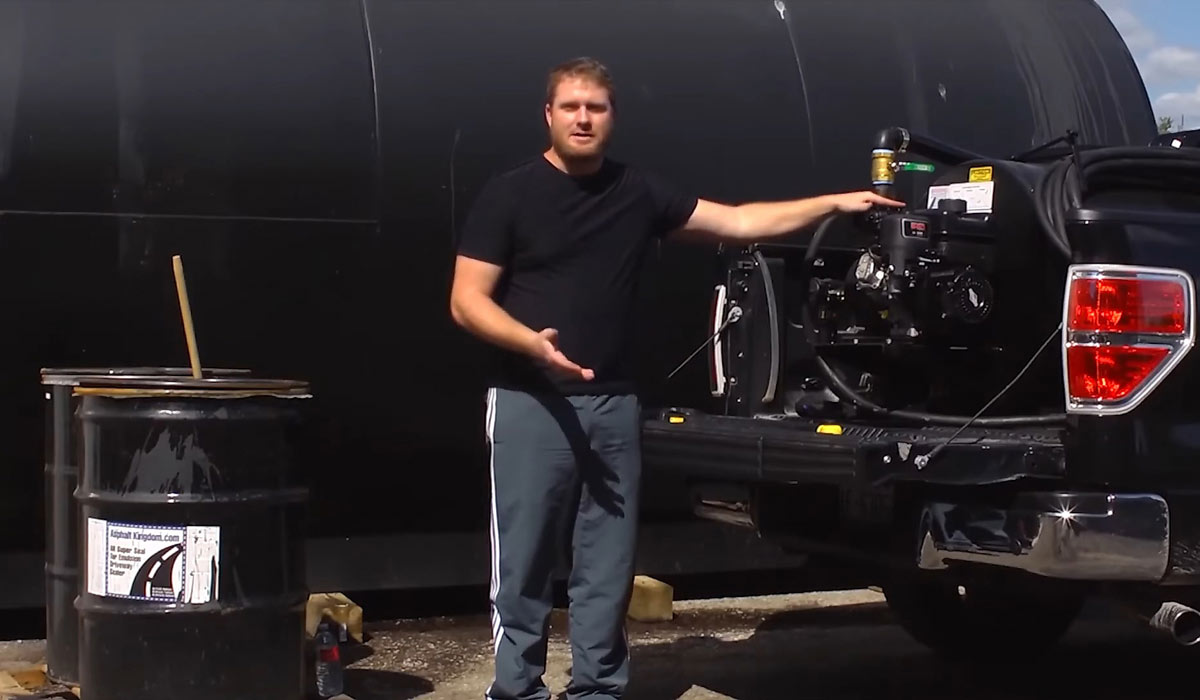
Spray tip losing pressure when using a DIY asphalt sealcoating system can mean one of three things. Discover these potential causes and how to fix them.
Have you suddenly lost pressure at the spray tip of your sealcoating machine? There are a few different reasons why this can happen.
Updated: When this article was written, the most popular sealer was a coal tar concentrate. This is now updated! Coal tar sealer has been banned or restricted in many states and municipalities, and asphalt emulsion sealer is now the most popular.
Reason 1: Sealer Dilution
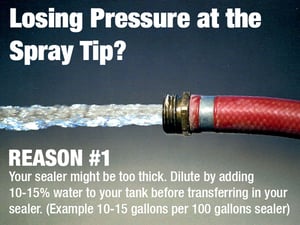
When working on a DIY asphalt sealcoating job, you may run into pressure issues. The first reason could be that the sealer is too thick or has been overdiluted; if you have a concentrated sealer, follow the manufacturer's directions on dilution. This will allow the sealer to move through the hoses and pump in a diluted liquid form. If the sealer is over-diluted with water it could risk having air bubbles in it which would make your pump lose its prime. In this case, add more concentrate to return it to its proper dilution rate.
One essential sealcoating tip is that we always recommend that you add the water to the spray system tank prior to transferring sealer concentrate over to the tank. Mixing it thoroughly and making sure your sealer is diluted will allow you to have a sealer that is at a dilution level that can be sprayed with a spray system. Also, the Asphalt Kingdom sealer contains anti-foaming agents; diluting this formula with too much water will make the anti-foaming agents less effective. This is critical for DIY involving asphalt sealcoating.
If you’re applying the sealer by hand with a squeegee or sealer brush, dilution is not as necessary because it can be applied in a viscous state.
FREE DOWNLOAD!
Go above and beyond! Impress customers with this informative Asphalt Emulsion After-Job Flyer.
Reason 2: Blockage in the Sprayer
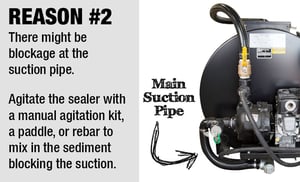 The second reason why a sealer spray system may not be spraying is that the unit may have a blockage down at the main suction pipe. The suction pipe connects to the very bottom of the tank and runs to the suction port of the pump.
If there is sediment at the bottom of the tank that was built up and blocking or damming that main suction port on the tank, then the sealer would be just trying to suck from a dead end.
So for DIY asphalt sealcoating, it’s very important that you either purchase one of our manual agitation kits and manually mix the tank prior to turning your unit on, or you take a rebar or some kind of a paddle or mixer that you can get in through the top lid and move the sealer around down at the bottom of the tank where the suction port is. This sealcoating tip is critical.
Reason 3: Clogged Spray Gun
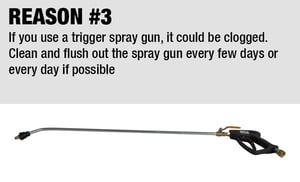 The third reason that you might not have proper pressure at the tip is in the case that you have a clogged trigger spray gun. Over time, if it’s not cleaned and flushed at the end of every day, it will get backed up and blocked up in the handle. You’ll be at a DIY asphalt sealcoating job site and your system will spray fine for a minute and a half or so, and eventually pressure will build up and back up towards the pump and the pump will lose its prime.
To prevent this from happening, one essential sealcoating tip is to clean out that trigger gun every couple of days, or every day if you can, just by removing it and flushing fresh water through it and moving that trigger handle around.
Those are the most common reasons for losing pressure at the spray tip on an asphalt sealcoating DIY project.
Reason 4: Not Enough Sealer In Your Tank
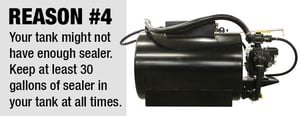 Evaporation in sealcoating tanks? Make sure that you always have at least 30 gallons of sealer as a holding balance in your tank. This will make sure that the suction port of your tank never sucks in air and makes your pump lose its prime. This is a very common issue that people experience with DIY asphalt sealcoating. Your pump always needs to be full of liquid in order to maintain its prime. Having 40 gallons in your tank is better, while 20 gallons in the tank will have no pressure at all.
Reason 5: Over Agitating/Mixing Your Sealer
 Our spray system pumps are very powerful and will agitate/mix your sealer very quickly. One sealcoating tip we would recommend is that you agitate your sealer for no more than 30 seconds through the recirculation mode or you risk having bubbles/foam in your sealer, which will make the pump lose its prime when it hits an air pocket.
Reason 6: Additives in the Sealer
If you add a latex additive like Fass-Dri, Diamond Shield Fortifier, or Ultra, that can lead to immediate foaming and loss of pressure on your asphalt sealcoating DIY project.
Asphalt Sealcoating DIY Troubleshooting Summary
There are a variety of sealcoating tips to troubleshoot these different issues.
- Do a dipstick test if all you see is foam:: If your sealer has turned to foam, use a clean broom or squeegee handle to do a dipstick test. This will let you find out the actual fluid level of the sealer beneath the foam. Ensure you have at least 30 gallons of sealer in the tank, there are no additives in the sealer and that you're only using recirculation mode for a short time. Do not use recirculation mode continuously throughout the day.
- If your sealer is too thick: Determine if this is the problem by adding the proper water dilution. If you haven’t calculated it and you’re going just by guesstimate, we recommend that you put your transfer kit on your unit, have that transfer kit put into a 55-gallon drum of water, turn your unit on spray mode and start your unit up. That will bypass your main tank, sucking from your transfer kit out through your spray gun spraying with water. If you have proper pressure there during this water test, it means that your sealer is just too thick. Keeping track of your sealer dilution is very important for asphalt sealcoating DIY work.
- If your sealer has been over diluted: If the sealer is over diluted, simply add back concentrate from your drums to bring the sealer in the tank to a dilution rate of 10% to 15%. If your sealer is over-diluted and over-agitated it risks having air bubbles in the sealer which forces your pump to lose prime.
- Tank level is too low: If your tank level is too low, you risk sucking air into the pump and losing prime which prevents pressure from building and spraying properly. Make sure you always maintain a level of approximately 30+ gallons on every asphalt sealcoating DIY effort.
- Blockage: If you are concerned about whether your pump is working or not and wonder if there is some kind of blockage down at the bottom of your tank where the suction port is attached, what you can do is put the transfer kit on, bypass your tank and spray out of your spray gun. If when you are sucking from the transfer kit out your spray gun you have proper pressure, then you know that the problem is in your tank. The whole key is to figure out whether there’s a problem at the tank or at the pump level, and the way you do that is by bypassing your tank through the transfer kit.
- Trigger gun: The easiest way to know if the gun is the problem on your asphalt sealcoating DIY job is to always have a ball valve-style spray gun handy. If the system works well with the ball valve-style spray gun you know that the trigger gun is blocked. If you don’t have a ball valve-style spray gun you can always disconnect the hose from your trigger gun and just put that spray hose, holding it carefully in the top of your tank (so it doesn’t spray all over) and see if you have good pressure coming out of that hose without the trigger gun.
- Backup solutions: If you are losing pressure at the tip and you still need to finish an asphalt sealcoating DIY job, then you could always have your squeegee or sealer brush with you as back-up. Simply take your hose off of your spray gun, whether it’s a ball valve or trigger, and pump sealer out onto the driveway. Spread it with a squeegee or sealer brush as a worst-case back-up scenario so that you can finish the job and keep your customers happy, and then do your troubleshooting back at your shop.
Those are a few asphalt sealcoating DIY tips on how to resolve issues if you don’t have proper pressure at your tip. Questions? Feel free to post them below!
Are you making these mistakes?
- What could be holding your business back from achieving its full potential
- The numbers you need to understand and the numbers to prioritize
- What you should be doing next to grow your success!
FREE DOWNLOAD!

Go above and beyond! Impress customers with this informative Asphalt Emulsion After-Job Flyer.


