How to Clean Asphalt is the single most important step you make. Here at Asphalt Kingdom we’re about more than just selling you the products, we want to ensure you excel at sealcoating. The key points to cleaning prep are:
- Clear the edges
- Clean all cracks
- Scrub the surface
- Remove oil stains
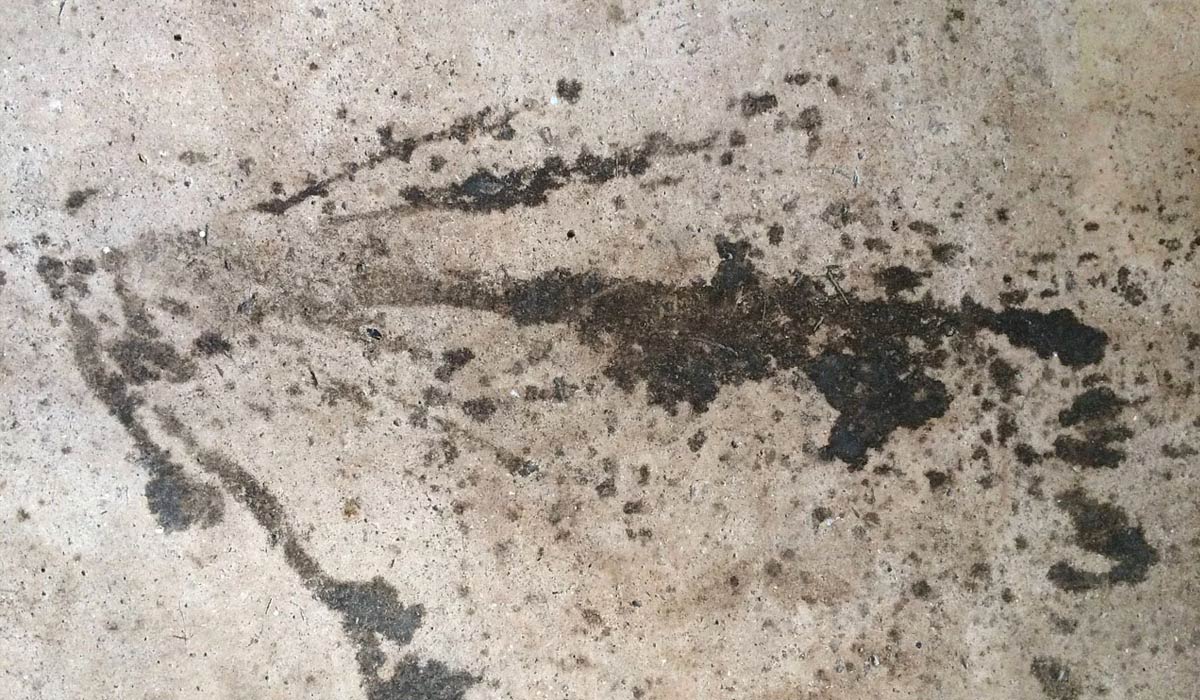
Removing Asphalt Oil Stains
Without having a clean surface, the sealcoating won’t adhere properly and your work will look shoddy and unprofessional.
- Weeds and Grass must be removed. To protect the asphalt, remove all the grass and weeds especially around the edges. This is most efficiently done with a lawn edger. Remember, plants and their roots will break up asphalt, not just the sealcoating.
- Clear loose debris from cracks. Cleaning asphalt for sealcoating includes removing debris from cracks. Use a long screwdriver or a wire brush to help you with this, or a gas blower is fast, easy and effective.
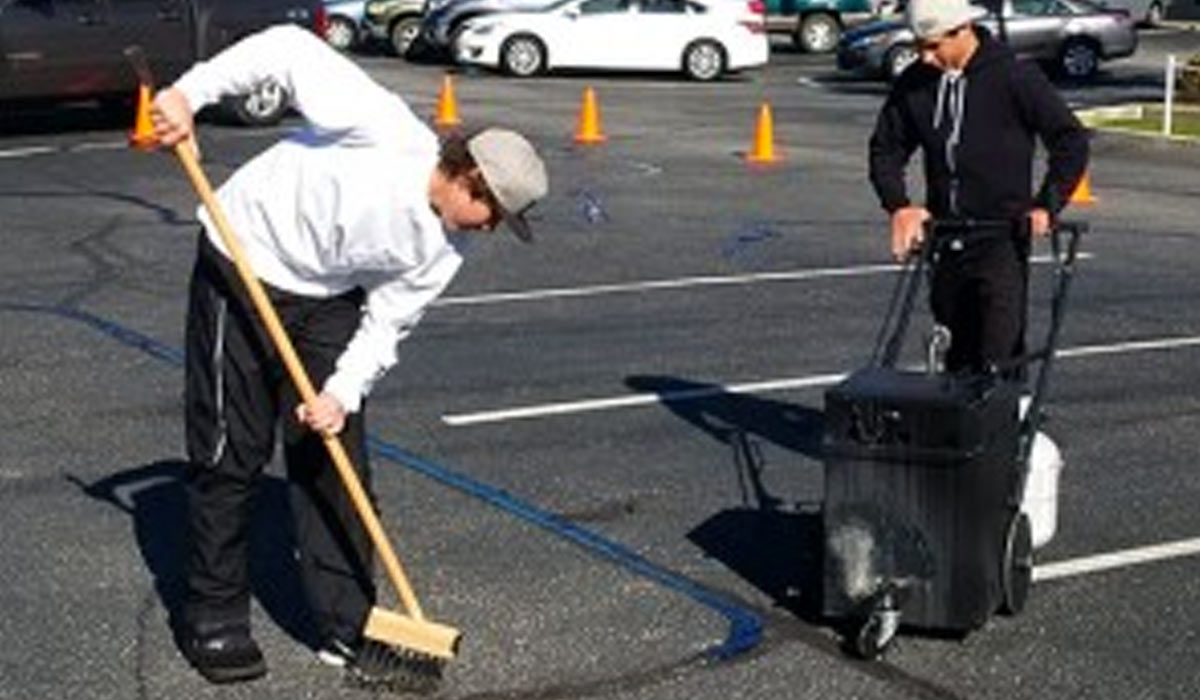
- Scrub the surface thoroughly. Using a hose, scrub brush, or a pressure washer, thoroughly scrub the area to be sealcoated. You can also use a rotary broom if your asphalt has moss, weeds, grass or caked-on mud. All dirt and oil must be removed. Which brings us to...
- Remove oil stains. Any oil left will eat away the asphalt, right underneath the sealcoat. Tough stains can be handled safely and easily with an oil stain remover.
As with every job, good prep work is essential. Cleaning asphalt for sealcoating success is the trademark for professional results.

Choose Asphalt Crack Cleaning Edging Equipment For Asphalt Preparation
Want to know more about all of the asphalt maintenance steps? Sign up for our free email guide on Asphalt Maintenance. No matter what maintenance you need to perform with your asphalt, cleaning and asphalt prep is always the first thing to do!
If using a pressure washer or water to clean your asphalt, make sure to let dry for 24 hours before continuing with crack and pothole repairs, sealcoating, etc.


