
Ready to spray? This guide shows exactly how to mix asphalt sealer the right way so your finish is smooth, your tips don’t clog, and your jobs run on time.
Why Proper Mixing Matters
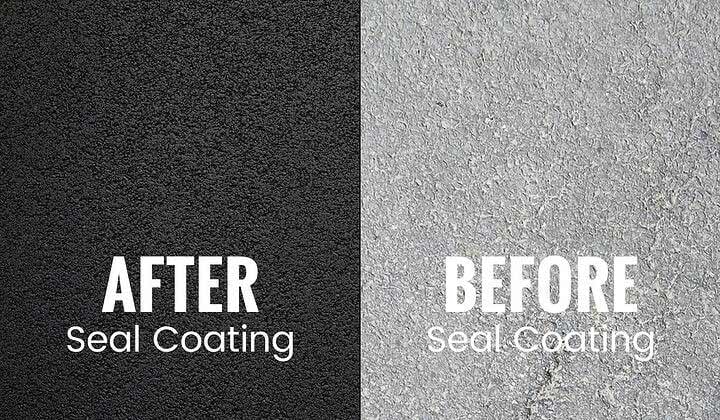
Sealer is a blend with solids that settle in storage. If you skip agitation, you’ll get streaks, thin spots, and chunks that jam your spray tip. Five minutes of mixing restores uniform viscosity for easier application and fewer callbacks.
What You Need
- Clean water and a hose with a shut off valve.
- Barrel mixer for an 18V to 21V drill, or a corded drill with power on site.
- A broom handle for the dip test.
- Gloves and eye protection.
- Material: 55 gal drums or bulk from a plant. Stock up on asphalt sealer if you need more.
Quick Dipstick Test
Pop the drum lid. Unmixed product shows water on top and heavy sludge below. Push the broom handle to the bottom and pull it out. Two textures mean it’s not ready. Clean the stick and get ready to agitate.
Related: Asphalt Sealcoating System Tip: Losing Pressure at the Spray Tip
How to Mix Driveway Sealer and Plant Blend Sealer
Set the drum mixer all the way down, then run the drill. Agitate up and down to lift settled solids, then side to side. Scrape the bottom to free sediment. Mix 4 to 5 minutes per drum. Repeat the dip test. A uniform black line with no lumps means you nailed it. That’s how to mix asphalt sealer for a consistent spray pattern.

Loading the Sealer Into Your System
Before transfer, check engine oil, fresh gasoline, and snug drain plugs. Close the lower ball valve, open the top valve, and prime the transfer hose with clean water to purge air. Connect the quick couplers, start the engine, and draw from the drum. Prefer bulk? Load at a local plant. Need gear? See our sealcoating equipment.

Two Transfer Options
- Bulk load from a local plant or tanker.
- DIY from 55 gal drums using a drum kit and 2 inch loading port. Priming prevents cavitation and speeds loading.
Cleanup that Saves Headaches
Rinse fittings and the drum kit right away so sealer doesn’t crust. Drain hoses and coil them loosely. Cap partial drums for next time. A clean system seals tighter and primes faster. These steps apply whether you learned how to mix driveway sealer from drums or bulk. For beginners, review this checklist before your first load to master how to mix asphalt sealer.
Pro Tips and Safety
Never dilute beyond the manufacturer’s spec. Avoid old fuel. Always wear gloves and eye protection. If temps are borderline, wait for a proper weather window. When in doubt about how to mix driveway sealer for a specific brand, check the label or call our team at 1 866 399 5562 for guidance.
Related: Different Types of Blacktop Sealers

Asphalt Kingdom is your trusted source of crack repair and sealcoating supplies. Browse our store for premium asphalt sealer, sealcoat systems, additives, and more. Give us a call at 1-866-399-5562 or just send us an email if you have questions about our products.


.png?width=200&height=300&name=First%20page.pdf%20(1).png "Start a Business Blueprint")

.jpg)

