If you're a contractor, property manager, or someone starting an asphalt maintenance business, knowing how to properly apply Crack-Stix can save you time, labor, and long-term repair costs. These permanent crack filler ropes are trusted by professionals for sealing both asphalt and concrete surfaces—without the need for expensive melters or mixing equipment.
In this guide, we’ll break down step-by-step Crack Stix instructions for both asphalt and concrete applications using either 1/4 or 1/2 inch diameter Crack-Stix. Whether you're patching a commercial parking lot or managing sidewalk maintenance, this guide will show you how to get the job done right.
What is Crack-Stix?
Crack-Stix is a hot-applied, rubberized crack filler sold in easy-to-use rope form. It melts directly into the crack using a propane torch and creates a long-lasting, flexible seal that moves with your pavement. It’s available in:
- Gray Crack-Stix for concrete (1/4 – 225 ft, 1/2 – 125 ft per pail)
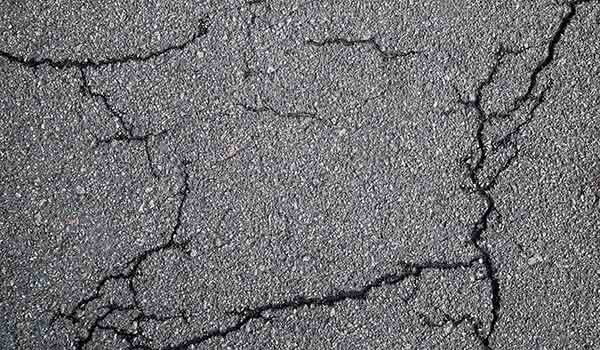
- Black Crack-Stix for asphalt (1/4 – 250 ft, 1/2 – 125 ft per pail)
These are permanent crack repair solutions designed for professional-grade results on a wide range of pavement types.

Technical Details Comparison
Tools You'll Need
- Crack-Stix (Gray or Black, based on surface)
- Propane torch
- Screwdriver or crack-cleaning tool
- Whisk/wire broom or air blower
- Optional: rubber mallet, razor blade (for trimming/stretching)
Step-by-Step Crack Stix Instructions
Step 1: Clean the Crack Thoroughly
Use a screwdriver or crack chisel to remove debris, dirt, or vegetation. Sweep clean with a broom or blow out with compressed air.
Note: For concrete, make sure the surface is completely dry—moisture can cause popping or spalling during torching.
Step 2: Insert the Crack-Stix Rope
Cut to length and press the Crack-Stix into the crack using your fingers or screwdriver. It should sit slightly below the surface (about 1/16 to 1/8 inch).
- For 1/4 inch Crack-Stix: Use on cracks between 1/4 to 1/2 inch wide
- For 1/2 inch Crack-Stix: Use on cracks between 1/2 to 1 inch wide
Tip: For narrow cracks, you can stretch Crack-Stix or splice it thinner using a razor blade.
Step 3: Heat and Melt
Use a propane torch to apply heat directly to the Crack-Stix. Keep the flame moving in a slow, side-to-side motion and avoid staying in one spot too long. The product will begin to melt and self-level, bonding to the crack walls.
- Maintain a 45° angle with the flame about 1–1.5 inches above the surface
- Torch 1 foot at a time for better control
- Wrapper melts away, keeping your hands clean
Step 4: Let It Cool
Allow the melted filler to cool and cure for about 20 minutes before allowing foot or vehicle traffic. No sealant overlay is required—this is a true permanent crack repair solution.
Important: For cold weather applications, store the product in a warm place before use to improve flexibility.
Crack Stix Pro Tips
- Don’t overfill. “In it, not on it” gives you the best finish and performance.
- For concrete, Crack-Stix is paintable with epoxy, latex, or masonry paint for a cleaner finish.
- Crack-Stix can be re-liquefied anytime for touch-ups or repairs.

Who Should Use Crack-Stix?
- Parking lot contractors sealing linear cracks
- Property managers maintaining walkways and lots
- New asphalt business owners who need reliable, low-barrier repair products
- Municipal workers handling sidewalks, curbs, or transitions
Frequently Asked Questions
Q: Should I wet and dry polymeric sand before installing Crack-Stix on top of it?
A: Yes. Wet the polymeric sand first, let it dry and harden before applying Crack-Stix.
Q: Can I apply Crack-Stix in freezing temperatures?
A: Only if there’s no frost. The crack walls must be completely dry. You can preheat the area, but avoid trapping moisture under the filler.
Q: Can Crack-Stix be used on vertical surfaces?
A: No. Crack-Stix is designed for horizontal surfaces only. The product melts into the crack and will not hold on vertical joints.
Q: My old Crack-Stix repair isn't remelting. What can I do?
A: Dirt and debris on the surface might be burning instead of the filler melting. Try wire brushing the area first, then reapply heat.

Final Thoughts
Following these Crack Stix instructions ensures your crack repair lasts through heat, freeze, and daily traffic. Whether you're working with concrete or asphalt, this is a professional-grade, permanent crack repair solution anyone can apply.
Ready to Start Sealing Cracks Like a Pro?
Shop our full line of Crack-Stix products in pallet quantities and take control of your pavement maintenance projects today. Whether you're repairing driveways, sidewalks, or parking lots, we've got the right size and color for the job.
Explore Now:
- Crack-Stix Gray 1/2" for Concrete – 125 ft. Pallet (60 Pails)
- Crack-Stix Gray 1/4" for Concrete – 225 ft. Pallet (60 Pails)
- Crack-Stix Black 1/2" for Asphalt – 125 ft. Pallet (60 Pails)
- Crack-Stix Black 1/4" for Asphalt – 250 ft. Pallet (60 Pails)
Don't wait for small cracks to turn into big problems—seal them right the first time with Crack-Stix.


.png?width=200&height=300&name=First%20page.pdf%20(1).png "Start a Business Blueprint")