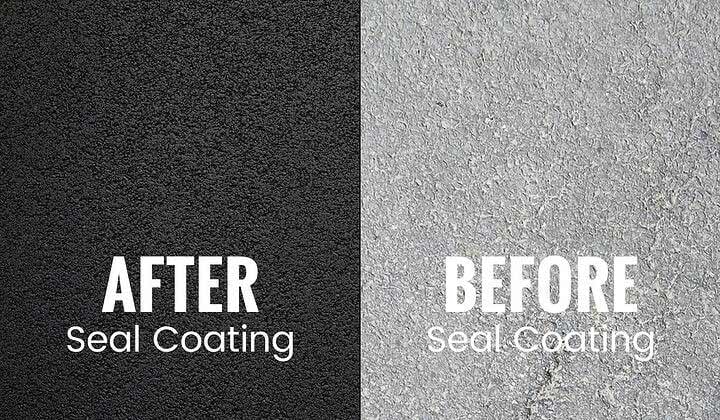
Preparing your sealcoating equipment properly is the key to smooth, efficient, and professional results. Whether you’re gearing up for your first job or just need a refresher, getting the basics right will save you time, prevent breakdowns, and ensure your asphalt sealer sprays beautifully.
In this guide, we’ll walk you through the full process: checking your equipment, mixing sealer in drums, loading it into your spray system, priming the pump, and cleaning up afterward. Let’s dive in.
Step 1: Pre-Inspection Checks
Before you even think about loading sealer, take a few minutes to check your equipment:
- Engine Oil: Pull the dipstick and make sure the oil level matches your engine manual's recommendation. Maintaining proper oil levels is critical for engine longevity and consistent performance.
- Fuel: Use fresh, regular unleaded gasoline. Never use old gas from cans—dirty or stale gas can damage your engine. Old gasoline can cause misfires and sluggish starts, which could cost you valuable time on the jobsite.
- Drain Plugs: Tighten both the top and bottom drain plugs on your spray system to prevent leaks. Double-checking these ensures that no sealer escapes during transfer or application.
These simple checks help avoid major headaches later on and are an essential habit before every project.
Step 2: Understanding Your Loading Options
There are two main ways to load sealer into your spray system:
- Fill at a Plant: Open the top lid of the tank and have the plant hose fill the tank directly. This method is fast and efficient if you are near a supply facility.
- Fill from Drums: Use the 2-inch loading port to pull sealer from 55-gallon drums. This method offers flexibility if you're working remotely or prefer to stock your sealer ahead of time.
For many contractors and DIYers, filling from drums is a more accessible option, especially when just starting out.
Step 3: How to Properly Mix Sealer in 55-Gallon Drums
Unmixed sealer is mostly water on top and thick clay-like material at the bottom. If not mixed properly, the sealer won't perform as intended, leading to uneven surfaces and premature wear.
Tools You Need
- A powerful 18-21V cordless drill or a heavy-duty corded drill
- A long drill mixer that reaches the bottom of the drum
- A clean broom handle for dip testing
- Access to a water hose with an on-off valve
Mixing Process
- Remove the Drum Lid: Take off the drum hardware and carefully remove the lid.
- Do a Dipstick Test: Stick a clean broom handle straight down to the bottom of the drum and pull it up. If you see a visible separation between watery liquid and heavy sludge, the sealer needs thorough mixing.
- Insert the Drill Mixer: Start mixing at the bottom of the drum. Use an up-and-down, side-to-side motion to break up settled material.
- Mix Thoroughly: Continue mixing for about 4-5 minutes until the sealer reaches a uniform consistency similar to thin pudding or thick gravy.
Asphalt Emulsion Sealer (55 Gallon Drums)
Final Check
After mixing, repeat the dipstick test. You should see a solid, uniform black line from top to bottom with no visible separation.
Proper mixing ensures the sealer will cure correctly on asphalt surfaces, providing the durability and protection your clients expect.
Step 4: Preparing the Transfer System
Here’s how to get your spray system ready to load sealer:
- Gear Up: Put on gloves to protect your hands from sealer stains. Have a garden hose with an on-off valve handy for quick rinses
- Connect the Transfer Hose:
-
- Remove the plug from your transfer port.
- Attach the male end of the transfer hose to the loading port.
- Lock the cam clamps securely to prevent leaks.
Priming the System
Before transferring sealer, you must prime your pump and hoses:
- Hold the female end of the transfer hose above the level of the pump.
- Fill the hose with water to remove any air pockets.
- Quickly connect it to the drum fitting without losing the prime.
Priming ensures a smooth transfer. If air is trapped inside, the pump could struggle, potentially damaging the equipment.
Step 5: Loading Sealer into Your Tank
Now you're ready to load sealer into your spray tank:
- Start the Engine: As soon as the engine turns on, the pump will begin pulling sealer from the drum.
- Monitor the Flow: Watch the hose and tank to ensure that sealer is moving smoothly.
Make sure your bottom ball valve is closed and top ball valve is open to allow proper loading without causing airlocks.
Proper loading technique saves time, prevents pump wear, and ensures you have the right amount of sealer ready for spraying.
AirBoss 750 Gallon Trailer Mounted Platinum
Step 6: Cleaning Up After Loading
Never overlook the importance of cleaning up immediately after loading sealer. Residual sealer left on the hose and fittings can harden, leading to frustrating problems the next time you need to work.
- Clean the Transfer Kit:
- Use a garden hose to rinse off the barrel kit, hose ends, and any other exposed parts.
- Scrape off any residual sealer before it dries.
- Seal the Drums:
- Cover any partially used drums securely to prevent contamination.
- Label the drums if necessary, especially if you’re planning to mix or use them on another project.
- Secure the Hose:
- Connect both ends of the transfer hose to each other to prevent drying inside.
- Store it in a clean, dry location.
Taking a few minutes to clean now can save hours of frustration later and extends the life of your equipment significantly.
Final Tips for Long-Term Success
- Check fuel and oil before every use.
- Always use fresh gasoline — stale gas can ruin a good engine fast.
- Mix your sealer thoroughly every time. Unmixed sealer will compromise job quality.
- Prime your system with water before every transfer.
- Clean your equipment after every use.
Developing these habits early will keep your spray system in top shape and your business running efficiently.
With proper prep, you’ll not only produce professional results but also extend the life of your sealcoating equipment. Whether you're tackling your first driveway or managing large commercial lots, following these steps ensures a smooth, stress-free job every time.
-1.jpg?width=720&height=405&name=Blog%20Images%20(53)-1.jpg)


.jpg)