-
Apart from surface prep, measuring the parking lot is one of the critical prerequisites in sealing it.
-
There are several tools you can use to measure a parking lot.
-
Discover how you can measure circular and flared areas of parking lots.
We all know that any asphalt pavement will develop cracks and other signs of damage as the years pass. But what if you can prevent them from forming and extend the life of your pavement for an additional ten to twenty years?
Prolonging its lifespan is possible when property owners seal their asphalt regularly!
When asphalt sealer is applied, it serves as an additional layer of protection to the pavement. It seals up those little cracks and prevents moisture from seeping deeper into the asphalt. This helps prevent the development of cracks and potholes.
Another benefit of asphalt sealing is that it blocks harmful UV rays from damaging your pavement.
To be clear, exposure to sunshine alone doesn't automatically damage your pavement. But frequent exposure to ultraviolet rays combined with heavy vehicular traffic and excessive moisture can contribute to crack and pothole development.
Are you planning to conduct some crack sealing and apply asphalt sealer to the parking lot? Then this pavement maintenance blog is for you.
But first things first. Accurately measuring up your parking lot prior to sealcoating is absolutely essential; the last thing you want is to run out of sealant halfway through.
Equally, ending up with barrels of asphalt sealer left over will make the job much more expensive than it needs to be.
Luckily, measuring a parking lot for sealcoating does not have to be a complicated task, and there are a variety of tools that can help you breeze through the process with ease.
Take a look at our step-by-step guide to measuring a parking lot ready for sealcoating!
Table of Contents
- A Step-by-Step Measuring Guide for Parking Lot Sealcoating
- Parking Lot Sealcoating Tools and Equipment
- How to Conduct Parking Lot Sealcoating
- Sealcoating Tips from the Pros
- Frequently Asked Questions

A Step-by-Step Measuring Guide for Parking Lot Sealcoating
First, gather all tools and materials for this project.
What you will need for measuring the area before sealcoating a parking lot:
- A measuring wheel, surveyor’s tape measure, or laser distance measure
- A calculator
- A clipboard, notepad, or Notes app to record the measurements
- A site map or blueprint of the parking lot
- A pen or pencil
These items will help you determine how many square foot the parking lot has and the amount of pavement sealer you need to purchase.
Before you Start!
Clean the Parking Lot. Remove any debris, leaves, or loose dirt from the surface of the parking lot. This will help you take accurate measurements.
Step One
Divide the Parking Lot into Sections. Divide the parking lot into manageable sections. It’s easier to measure a large parking lot by dividing it into smaller sections, such as rows of parking spaces or islands.
Step Two
Survey the parking lot and figure out what shapes are involved. Luckily, most parking lots are squares or rectangles, making measuring up incredibly easy work. However, some parking lots may contain circles, semi-circles or ‘flares’ around the edges.
Step Three
Taking Measurements
Using a Measuring Wheel
- Reset the counter on the measuring wheel to zero.
- Start at one corner of the parking lot or one end of a section.
- Walk in a straight line to the other end, keeping the wheel on the ground at all times.
- Note down the measurement.
- Repeat the process for all sections of the parking lot.
Using a Laser Distance Measurer
- Turn on the laser distance measurer.
- Point the laser at the starting point and then at the ending point.
- Note down the measurement on your clipboard.
Repeat the process for all sections of the parking lot. - Measure each area of your parking lot.
- Using your wheel, measure the length and width of the asphalt pavement, making sure to walk in a straight line for increased accuracy.
- Multiply the length of the parking lot by the width to figure out its area in square feet (or meters, depending on which unit you are working with!)
Related: Sealcoating and Crack Repair Safety Checklist
For circular areas:
- Measure the radius of the circle (the distance from the center point to the edge). If you’re dealing with a semi-circle, simply imagine the circle is whole and measure the radius accordingly.
- Use the formula ‘A=πr2’ to figure out the area of your circle. To break this formula down, simply square your radius, then multiply this figure by pi (which can be substituted for 3.14).
- If the area in question is a semi-circle, use half this value.
For flares:
- A flare is an area at the edge of a parking lot that ‘flares’ outwards at the end.
- Measuring the area of a flare can never be 100% accurate, but it’s important not to discount these areas, particularly if you’re dealing with more than one.
- The general rule for measuring a flare is to measure the distance from the beginning of the flared area up to the widest point at the end (this is the length). Then measure the length of the flare itself at its longest point (this is the width).
- To find the approximate area, multiply length by width, then divide this value by two, essentially creating a triangular area around the size of the flare.
Step Four
Add all the areas from your parking lot together!
Top tip
If you are unable to go out and physically measure the area or would like a quicker and more convenient option, our online tool can help you easily measure up your asphalt surface area using Google’s satellite technology.
Once you have figured out approximately how much area you are looking to cover, it’s time to decide how much parking lot seal (either asphalt emulsion, acrylic, or coal tar) you need.
Calculate the amount of sealcoat material needed. The amount of sealcoat material needed will depend on the type of sealcoat being used and the manufacturer's recommendations. Take a look at our handy sealcoating calculator for an accurate estimate.
We'll factor in the size of the area and the sealcoating method you will use. This is to provide you with an accurate idea of how many gallons of product you will need.
Usually, the sealcoat material is applied at a rate of 0.15 to 0.20 gallons per square yard.
You also have to consider the number of coats. Usually, two coats of sealcoat are recommended for a parking lot. So, double the amount of sealcoat material calculated in the previous step.
Finally, consider waste factor. It’s always good to account for some waste. Add 5-10% to the total amount of sealcoat material calculated to account for waste.
Remember to always check with the manufacturer of the sealcoat material for any specific recommendations or requirements.
Parking Lot Sealcoating Tools and Equipment
Now that you're done measuring the parking lot, it's time to choose the right sealcoating tools and equipment.
Spray Systems

AirBoss 300 Air-Operated Sealcoat Spray System - Pro
Features: Spray systems are sophisticated pieces of equipment that have a tank to hold the sealcoat material, a pump to circulate the material, and a spray wand or spray bar to apply the material onto the asphalt surface.
Some advanced spray systems come with dual spray wands for higher efficiency, and others have electronic controls to adjust the spray pressure and width. Check out Asphalt Kingdom's sealcoating spray system store for more information.
Benefits: Spray systems offer a uniform and consistent application of the sealcoat material. They are highly efficient and can cover large areas quickly.
Spray systems also allow for the addition of sand and additives to the sealcoat material, which can improve the quality and performance of the sealcoat.
Suitability: Spray systems are suitable for medium to large-sized parking lots, as they can cover a large area quickly and efficiently. They are also suitable for parking lots with a lot of landscaping or tight spaces, as the spray wand allows for precise application around obstacles.
Related: Choosing the Best Sealcoating Sprayer Tank Size For Your Business
Squeegee
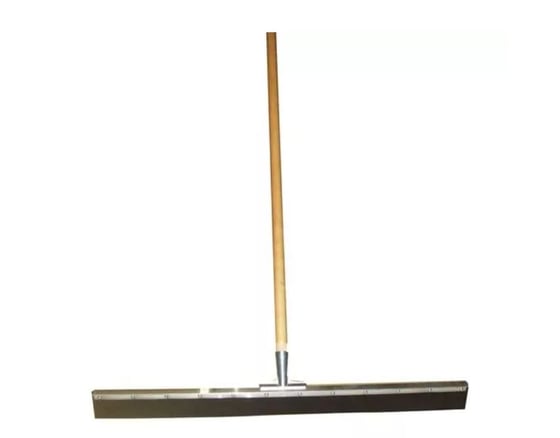
Sealcoating Straight Blade Squeegee
Features: A squeegee is a simple hand tool that consists of a flat, smooth rubber blade attached to a handle. The sealcoat material is poured onto the asphalt surface and then spread evenly using the squeegee.
Benefits: Using a squeegee allows for a thicker application of the sealcoat material, which can fill in small cracks and imperfections in the asphalt surface.
It also provides better contact between the sealcoat material and the asphalt surface, which can result in better adhesion and a longer-lasting sealcoat.
Suitability: Squeegees are suitable for small to medium-sized parking lots or for areas where precision is required, such as around edges, curbs, and manholes. They are also ideal for use on uneven surfaces where a spray system may not be as effective.
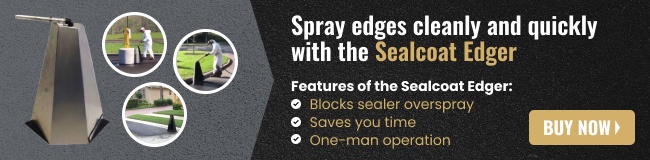
Edgers
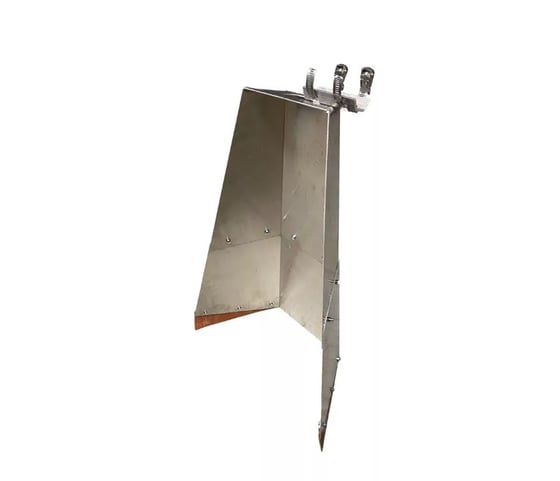
Wand Wizard Edger For Sealcoating
Features: Edgers are specialized tools designed to apply sealcoat material precisely along the edges of the parking lot, curbs, and landscaping.
They can be manual tools, similar to a squeegee but with a smaller, more precise blade, or they can be attachments for a spray system that allows for precise application along edges.
Benefits: Edgers allow for a clean, precise application of sealcoat material along edges, which can enhance the appearance of the parking lot and protect the edges from wear and tear. They also help to prevent overspray onto curbs, landscaping, and adjacent surfaces.
Suitability: Edgers are suitable for all sizes of parking lots, but they are especially useful for parking lots with a lot of curbs, landscaping, or adjacent surfaces that need to be protected from overspray.
How to Conduct Parking Lot Sealcoating
Now that you know how to measure a parking lot for sealcoating, it's time to prep your asphalt pavement and apply sealer.
For many business owners, maintaining parking lots isn't just about functionality — it's also about presenting the best face to customers and clients. An asphalt parking lot that's been meticulously maintained adds significant curb appeal to a property.
One essential component of an effective parking lot maintenance or pavement maintenance program is parking lot sealcoating. Here's a step-by-step guide to help you ensure the longevity and appeal of asphalt surfaces.
Related: HOA Asphalt Maintenance: Tips for Landing a Successful Deal
Step 1: Inspection and Preparation
Evaluate the Asphalt Surface. Before sealcoating a parking lot, conduct a thorough inspection to identify signs of wear and tear. Check for cracks, potholes, or any surface deformities.
Crack Sealing. Address any cracks you find. Crack sealing is a preliminary step before sealcoating. It ensures the sealer will adhere properly and that existing cracks in any pavement surface or asphalt parking lots won't worsen.
Step 2: Cleaning the Surface
Remove Debris. Clear the lot of any debris, including leaves, twigs, and trash. This will ensure a smoother finish.
Step 3: Applying the Sealer
Mix the Sealer. Before applying to the parking lot, ensure the pavement sealer is mixed thoroughly.
Spray or Brush Application. Depending on the size of the parking lot and the tools you have, the sealer can be applied using a sprayer or a large brush. Spraying is more efficient for larger lots while brushing might provide a thicker coating.
Apply in Thin Coats. It's recommended to apply two thin coats rather than one thick one. This ensures even coverage and a more polished black finish.
Coverage Rate. On average, a gallon of sealer covers 100 square feet. Always check the manufacturer's recommendations for specific coverage rates.
Step 4: Drying and Curing
Allow Adequate Drying Time. After application, sealcoating parking lots requires a good amount of time to dry. Typically, a parking lot should be kept traffic-free for at least 24 hours after sealcoating.
Check Weather Forecasts. It's essential to conduct sealcoating when the weather is clear. Rain can wash away the sealer before it dries, compromising the integrity of the job.
Step 5: Maintenance and Care
Regular Inspection. Encourage the business owner to inspect the lot regularly for signs of wear or damage. Prompt attention to issues will extend the life of the sealcoating.
Reapply as Needed. Depending on the traffic and environmental conditions, sealcoating might be required every 2-3 years.
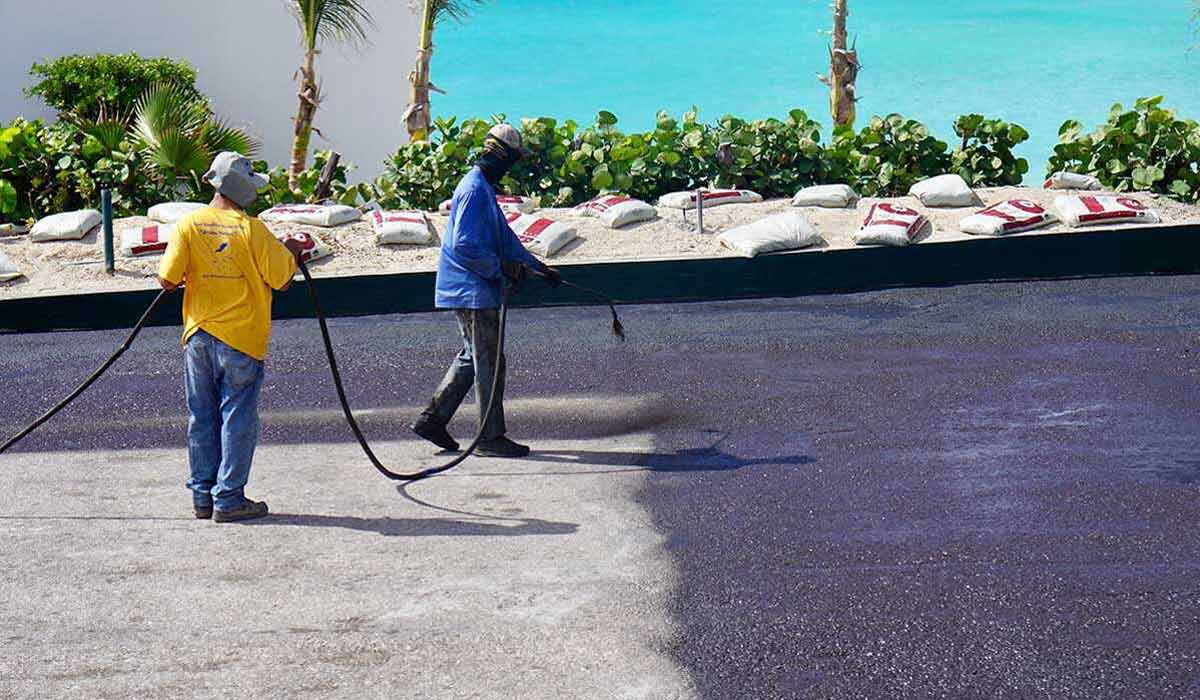
Sealcoating Tips from the Pros
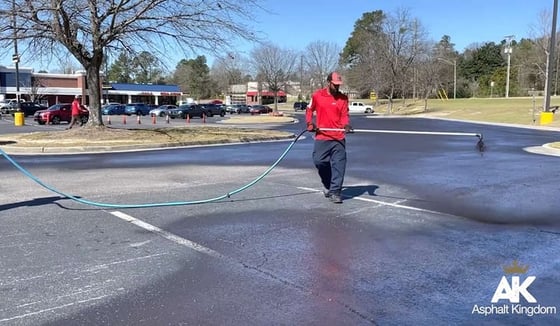 Sealcoating a Parking Lot
Here are some expert tips and best practices for successful parking lot sealcoating.
1. Surface preparation is the most critical step in the process. Make sure to clean the asphalt thoroughly by using a regular broom, power broom, and blower. For oil stains, use an oil spot primer.
2. Repair all the cracks, potholes, and damaged areas of the asphalt before sealcoating. Use appropriate materials like crack filler or asphalt patch for repairs.
3. The day's temperature plays a significant role in the sealcoating process. Make sure the temperature is above 50°F (10°C) and below 100°F (38°C) during the application and for at least 8 hours after the application.
Moreover, ensure that there is no rain forecasted for at least 24 hours before and after the application.
4. Mix the sealcoat material as per the manufacturer's instructions. Proper mixing ensures a uniform consistency and better adhesion to the surface.
5. Use a brush for the edges to ensure a neat finish.
6. Allow the sealcoat to cure completely before opening the parking lot for traffic. It usually takes about 24-48 hours for the sealcoat to dry and cure completely.
7. Applying the sealcoat too thick will lead to an uneven surface, and it will take longer to dry and cure. Two thin coats are better than one thick coat.
8. Proper mixing of the sealcoat material is essential for a uniform consistency and better adhesion.
Now that you know how to measure and prepare a parking lot, it's time to start sealcoating.
Related: 4 Winter Money-Making Ideas for Asphalt Contractors
Frequently Asked Questions
Why is it important to measure a parking lot before applying asphalt sealer?
It is crucial to measure a parking lot before applying asphalt sealer to calculate the exact amount of sealer required. This ensures that you do not run out of material midway or have excess left after the job.
Additionally, it helps in estimating the cost accurately and planning the application process efficiently, ensuring a professional and even finish.
What are the tools used to measure parking lots?
The tools commonly used to measure parking lots include a measuring wheel, tape measure, laser distance meter, or a surveyor's wheel. You can also use drones equipped with GPS and measuring software for larger parking lots.
Can you measure a parking lot using online maps?
Yes, you can get a rough estimate of the size of a parking lot using online maps like Google Maps. However, for accurate measurements and professional sealcoating, it is recommended to measure the parking lot physically using appropriate tools or get it measured by a professional.
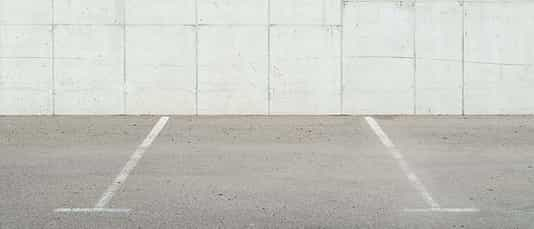
How many meters is a typical parking space?
A typical parking space is about 2.5 meters (8.2 feet) wide and 5 meters (16.4 feet) long. However, the size can vary based on the country and local regulations.
Ready to purchase your first a spray system but don't know which one's perfect for your business or property? Simply give Asphalt Kingdom a call at 1-866-399-5562 for FREE expert advice.