Asphalt sealer is the lifeblood of every pavement-protection job. Apply it right and you lock in rich color, watertight protection, and a reputation for quality. Apply it wrong and you’re stuck with callbacks, peeling film, and profit-eating rework. Whether you’re a first-time DIYer sealing a small driveway, a facility manager protecting acres of parking, or a full-time contractor running multiple crews, the fundamentals below will keep every gallon of asphalt sealer working for you—not against you.
1. Choose the Right Sealer Type for the Job
Coal-tar might be fading from the market, but contractors still have choices: asphalt emulsion sealer, acrylic, and specialty polymer blends. Asphalt emulsion sealer has become the workhorse because it’s VOC-compliant, easy to clean up, and compatible with most additives—perfect for fast-turn commercial lots and residential driveways. Acrylics cost more but cure fast and stay jet-black longer. Match the chemistry to your surface, climate, and customer expectations to avoid adhesion surprises later.
2. Calculate How Much Sealer You Really Need
Guesswork kills margins. Use the surface-area method (length × width ÷ 9 = square yards) and multiply by your sealer’s stated coverage rate to determine gallons required per coat. Remember that highly oxidized or porous asphalt can drink 10–20 % more product. Lock in accurate numbers before you bid, and you’ll avoid mid-job runs to the plant.
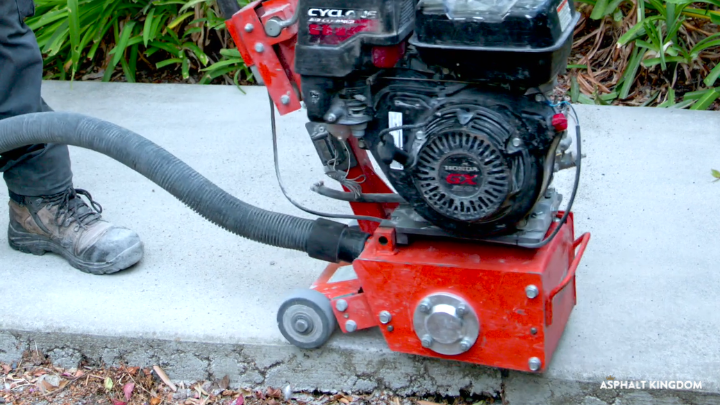
3. Prep and Inspect Your Sealcoating Equipment

Before you ever open a drum, check filters, replace worn spray tips, and pressure-test hoses. Flush the pump with clean water to remove last season’s residue, and verify that agitation paddles run freely. A quick glance at our sealcoating equipment prep checklist will make sure you haven’t missed a step. A 10-minute inspection can save hours of onsite troubleshooting—and an unhappy property manager.
4. Mix Like a Pro: Proper Dilution & Agitation
Most Asphalt emulsion concentrates call for 10–20 % clean water. Add water first, then sealer, and agitate for at least five minutes or until you see a uniform mocha-color blend. Over-dilution creates foaming and weak film; under-dilution strains pumps. If you’re mixing 55-gallon drums, use a rotary mixer or transfer pump to avoid unmixed concentrate settling at the bottom.
5. Boost Performance With the Right Additives
Latex fortifiers, fast-dry polymers, color enhancers, and sand suspensions turn good sealer into great sealer. Follow label rates—typically 1–2 gal additive per 100 gal sealer—and always pre-blend additive with water before it hits the tank. Too much latex can thicken the mix and stall your pump; too little offers no benefit.
6. Watch the Thermometer: Temperature & Weather Matter
-2.jpg?width=720&height=405&name=Blog%20Images%20(45)-2.jpg)
Never apply asphalt sealer below 50 °F air and rising, and aim for pavement temps of 60 °F+ with 24–48 h of dry weather afterward. Ideal production days sit between 70 °F and 90 °F—track the forecast and build weather buffers into your schedule. For detailed guidelines on timing your applications, reference our Application Temperature Cheat Sheet.
7. Transfer and Load Safely
When you’re staging bulk tanks or 275-gal totes, place them on level ground, chock wheels, and use cam-lock hoses rated for petroleum products. Open vent caps before pumping to prevent vacuum collapse, and wear splash goggles and nitrile gloves. A spill-free transfer protects your crew and the jobsite—and keeps OSHA and the EPA off your back.
8. Apply Using Proven Spray or Squeegee Techniques
Hold the spray wand 12–18 in above the surface, overlap passes by 30 %, and maintain 40–50 psi for even fan shape. If you’re upgrading your rig, our professional sealcoating spray systems deliver consistent flow and pattern control. For squeegee work, push—not pull—at a 45-degree angle, feathering edges to avoid lap marks. Two thin coats beat one heavy coat every time, cutting dry time and reducing tracking complaints.
9. Store Leftover Sealer Correctly
Don’t let extra material freeze or skin over. Keep drums and totes indoors at 45–50 °F minimum and stir every other day in the off-season. For larger operations, consider a dedicated bulk sealer storage tank to save handling time and reduce waste. Seal lids tightly and label each container with date, batch, and dilution rate. Dispose of expired sealer at a certified recycling center—never down the drain.
10. Think Bulk for Better Margins and Fewer Delays
Buying in totes or filling an on-site bulk storage tank slashes cost per gallon, shortens loading times, and lets you jump on last-minute jobs. Contractors report saving $0.20–$0.40 per gallon and adding an extra driveway per day once they ditch 55-gallon drums. And if you need to prep cracks before sealing, our crack filler products make the job quick and reliable.

Final Takeaway
Master these 10 fundamentals and you’ll lay down blacker, longer-lasting coats of asphalt sealer, finish jobs faster, and strengthen client trust.
Ready to level-up? Explore Asphalt Kingdom’s full lineup of professional-grade sealers, spray systems, and bulk storage tanks—or talk to a pavement expert for free.

.png?width=200&height=300&name=First%20page.pdf%20(1).png "Start a Business Blueprint")