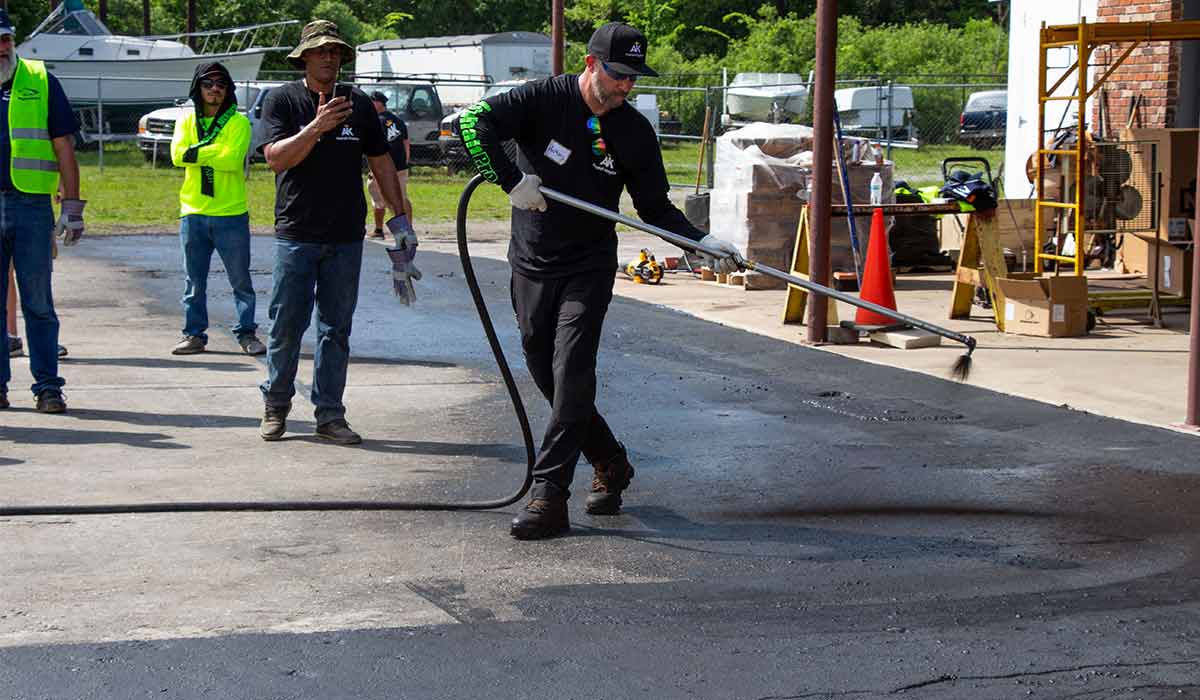
The sealcoating season has drawn to a close, and it's time to put your sealer spray system in storage. But there's more to winterizing your sealcoat equipment than just putting it in your garage. Here are some tips on how to clean your sprayer, tank, and hoses so you can get them ready for spring.
Table of Contents
-
Winterizing Your Sealcoating Equipment
-
Step 1: Drain the tank
-
Step 2: Flush the pumps and hoses with water
-
Step 3: Open the valves after flushing the pumps and hoses
-
Step 4: Clean the tank by scraping off any dried sealer stuck in its walls.
-
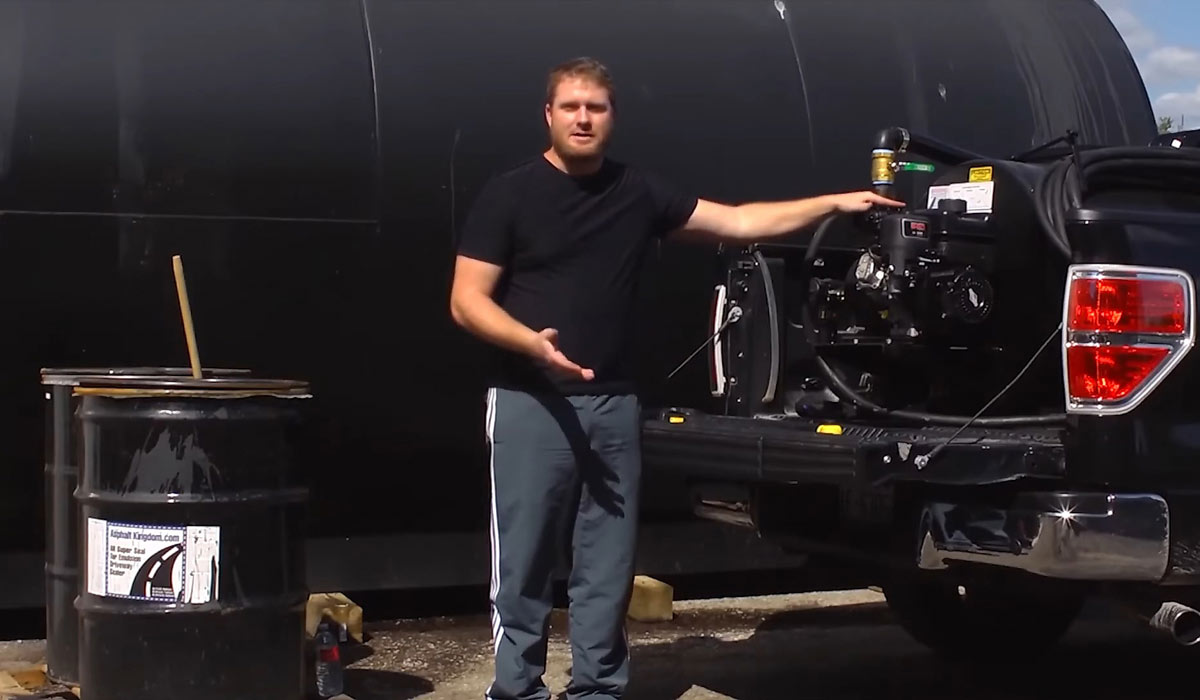
Step 5: Get the pump ready for storage by removing motor oil inside
-
Step 6: Detach the spray wand hose assembly from the machine
Note: The first piece of literature you should refer to for winterizing information is your sealcoat equipment users manual.
If you've thrown away that document, then don't worry because the manual is likely available online on your manufacturer or distributor's website. But if the user manual is not available online, you can always contact the manufacturer or distributor for winterizing information. Let's get started.

Winterizing Your Sealcoating Equipment
Step 1: Drain the Tank
Drain the tank completely when the season draws to a close. To do this, simply transfer the leftover sealer into clean 55-gallon drums and make sure that the lid is sealed tightly afterward. You can also use a tote if you have one. Watch this video to learn how to empty your sealcoating tank properly.
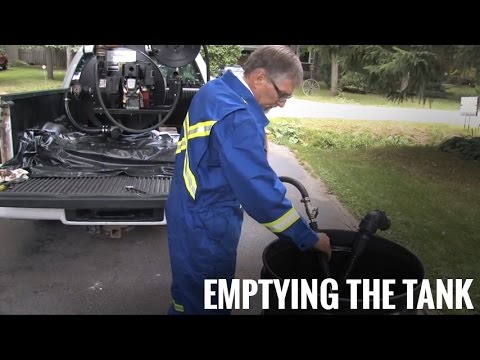
How to empty your spray system's tank
Storing leftover sealer properly throughout the winter months makes it usable for the next season, thus saving you money. Keep the sealer in a warm place as it cannot be reused once it has frozen.
Related: 7 Best Asphalt Sealer Removal Products
Step 2: Flush Everything
Flush the pumps and hoses with water to get rid of any sealer residue inside. Sealer can dry and freeze inside the components during winter, and this can damage different parts of your equipment.
Step 3: Open the Valves
Open the valves after flushing the pumps and hoses. We recommend that you leave the valves open throughout the end of the season so any remaining liquid inside can evaporate.

Step 4: Clean the Tank
Clean the tank by scraping off any dried sealer stuck in its walls. Sealer hardens and builds up in the walls of the tank over time, and pieces of sealer will eventually chip off of the walls of the tank. If neglected, they can clog components the moment you use the sealcoat system again.
Wait when the sealer had already dried up and become brittle to make it easier to remove off of the walls.
Step 5: Pump Maintenance
Get the pump ready for storage by removing the motor oil inside. Next, add antifreeze or windshield wiper fluid to the pump. This helps prevent the seals from breaking.
Related: Sealcoating and Crack Repair Safety Checklist
Step 6: Store the Spray Wand & Hose
Finally, detach the spray wand hose assembly from the machine. Roll the hose up and make sure to put it in a clean, dry place.
Winter Opportunity for Making Money
Need some extra cash this winter? Make more money during the winter months by providing emergency pothole repair services to residential and commercial property owners.

Infrared pothole repair for winter potholes
With this service, you can potentially make $950 per day, so you can hit your annual financial goals.
- Repair potholes year-round, even during the winter
- Make $95 per 2'x2' press
- Breaks even within 3 hours of work
Reach out to us at 1-866-399-5562 if you need free expert advice on emergency pothole repair services or if you need help with winterizing your sealcoating equipment.


.png?width=200&height=300&name=First%20page.pdf%20(1).png "Start a Business Blueprint")