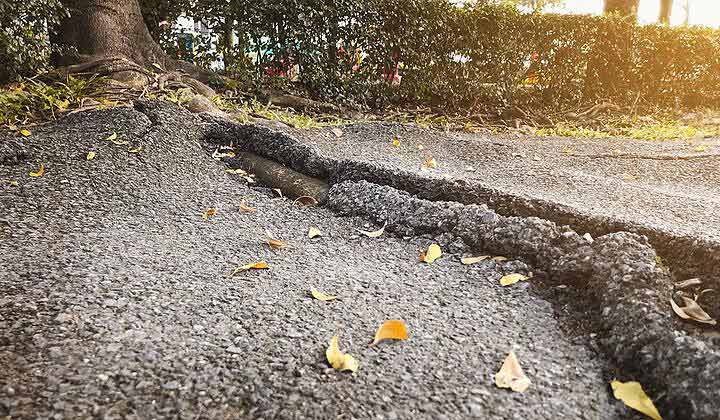
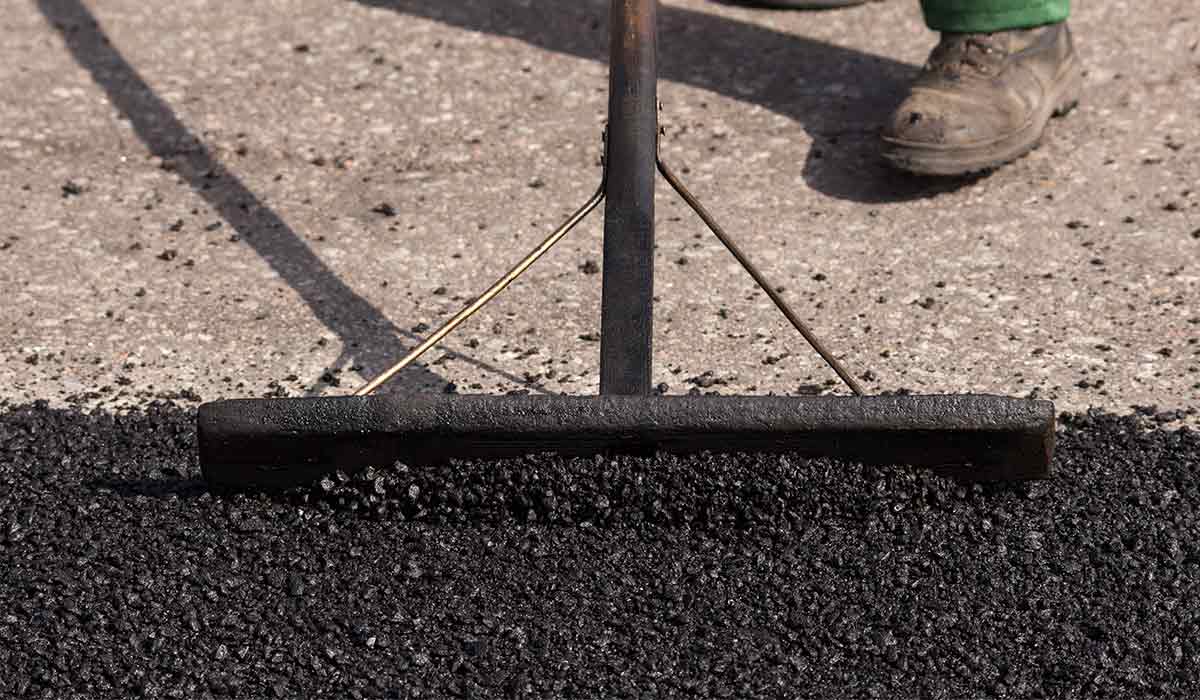
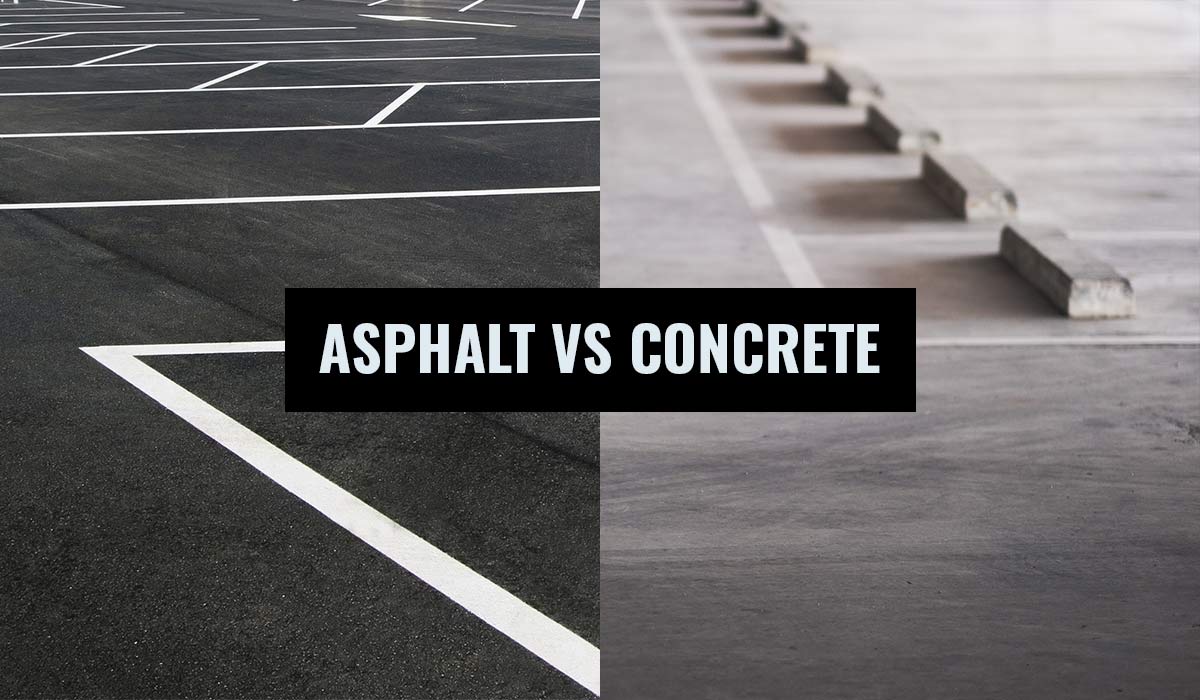
Your asphalt driveway is a big investment, but like any outdoor surface, it needs some TLC to stay in good shape. Over time, the sun, weather, and traffic can wear it down, making it look rough and beat up.
Think of your asphalt like your skin. Constant exposure to the elements can cause it to dry out, crack, and get brittle. You might start seeing small cracks snaking along your asphalt driveway. You might also notice patches of moss, faded areas, ruts, and uneven spots popping up.
The longer you leave these things, the more damage they cause to your asphalt driveway, and the more expensive they get to fix.
But don’t worry — we’ve got you covered. We’ve broken down asphalt driveway damage into four separate problems, and we’ve got DIY solutions for each one. Our step-by-step guides make it easy for you to tackle repairs yourself, saving you money and keeping your pavement looking sharp.
Check out the categories of asphalt damage below and find out how you can fix each issue yourself. Let's show you how to fix your asphalt driveway, and get it back in top shape!
Table of Contents
- Problem 1: Asphalt Driveway Oxidation
- Problem 2: Cracks and Minor Potholes in Your Asphalt Driveway
- Problem 3: Large Holes, Ruts, and Uneven Depressions in Your Asphalt Driveway
- Problem 4: Crumbling Asphalt on Your Driveway
- Preventive Maintenance for Your Asphalt Driveway
- When to DIY vs. Contact a Professional
- Benefits of Professional Asphalt Assistance
- Where to Next With Asphalt Kingdom
Problem 1: Asphalt Driveway Oxidation
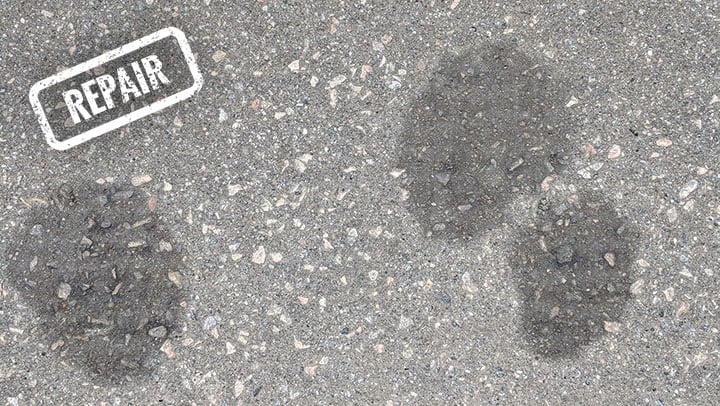
Oxidation is one of the first signs your asphalt driveway is starting to age. Over time, the rich black color of fresh asphalt fades and turns gray, thanks to a substance called bitumen evaporating due to constant sun exposure. Bitumen acts as a tar-like binder that holds the aggregates in asphalt together. As it evaporates, it leaves behind the aggregates, causing your asphalt to dry out and become brittle.
Unfortunately, this fading often isn’t even. You might notice some sections of your driveway looking darker or lighter than others, making your asphalt look patchy and unattractive.
But don’t worry — there’s a simple solution: sealcoating
The Solution: Sealcoating Your Driveway
.jpg?width=443&name=AerialSealcoating1%20(1).jpg)
1. Clean the Surface:
- Remove any debris, dirt, and vegetation from the surface.
- Use a broom or blower to clear the area thoroughly.
2. Apply the Sealer:
- Choose a high-quality asphalt sealer.
- Use a squeegee or sprayer to apply a thin, even coat over the entire surface.
3. Allow to Dry:
- Let the sealer dry completely before using the driveway.
- This typically takes 24 to 48 hours, depending on the weather.
Sealcoating not only restores the beauty of your asphalt driveway, giving it a fresh, black appearance, but it also forms a protective layer that prevents moisture from seeping into the foundation. For more detailed instructions, check out our comprehensive sealcoating guide
With these steps, your asphalt will look good as new and stay protected for years to come!.
Problem 2: Cracks and Minor Potholes in Your Asphalt Driveway
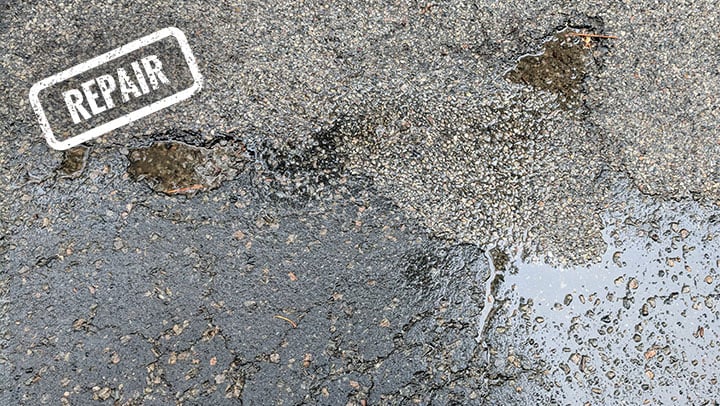
Cracks and minor potholes are common issues that can quickly turn into major problems if left unattended. Moisture from rain, snow, drainage runoffs, and spills is the main culprit, causing your broken asphalt. When it seeps into unsealed asphalt, it gets trapped beneath the surface. During winter, this trapped moisture freezes and expands, weakening the foundation and causing the surface to split.
Newer asphalt with most of its bitumen content intact can flex to accommodate the expansion of frozen moisture. However, as asphalt ages and loses its flexibility, it becomes more brittle and vulnerable. Instead of flexing, the surface splits and cracks, allowing even more moisture to penetrate and cause further damage. Cracks that aren't filled in a timely manner can grow larger and turn into potholes.
But don’t worry — you can usually handle this yourself. Here’s how to fix those cracks and minor potholes:
The Solution: Fixing Cracks and Potholes in Your Asphalt Driveway
Asphalt crack restoration using the RY10 Pro and hot pour crackfiller
How to fix asphalt driveway cracks:
1. Preparation:
- Remove all vegetation growing out of the cracks and potholes with a heat lance or torch.
- Use a crack cleaning machine, sweeper, or a push broom with stiff bristles to clean off loose debris and sand.
- Hose the entire surface of the pavement with clean water, or use a power washer. The idea is to prepare cracks for filling. Allow the entire area to dry thoroughly.
2. Filling Cracks:
- For cracks that are less than ½ inch, use cold-pour crackfill.
- Apply hot-pour rubberized crackfill on cracks that are 1 inch or less.
3. Patching Potholes:
- For wider networks of cracks that look like the skin of an alligator, you can use Gator Patch.
- For gaping potholes, use the cold patch asphalt restorer.
If you are repairing your asphalt driveway during winter, following the ideal crack restoration application temperature can ensure the best results.
Asphalt Kingdom offers in-depth and reliable guides to do DIY cracks and potholes repairs on your asphalt driveway. Check out the following resource page: Guide to Asphalt Crack Restoration.
Problem 3: Large Holes, Ruts, and Uneven Depressions in Your Asphalt Driveway
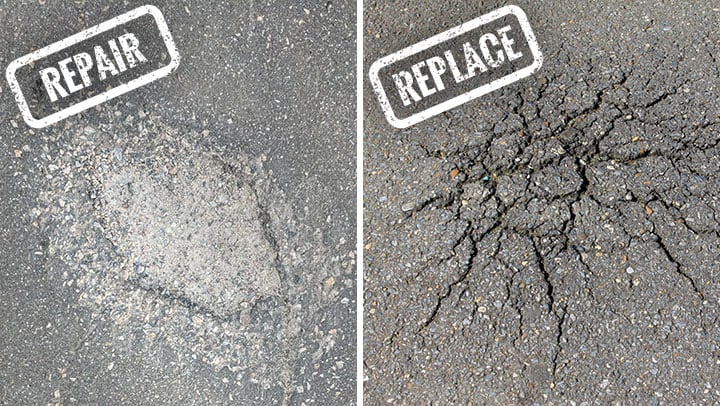
When cracks and potholes aren't filled right away, the damage can quickly escalate, especially in high-traffic areas like asphalt driveways. Constant stress from heavy vehicles and regular traffic can create depressions on the pavement surface and chip off chunks of aggregate until the potholes grow too large for standard crack fill.
But don’t worry — you can still fix this yourself. Here’s how to handle those large holes, ruts, and uneven depressions in your driveway:
The Solution: Cut, Patch, and Sealcoat Your Asphalt Driveway
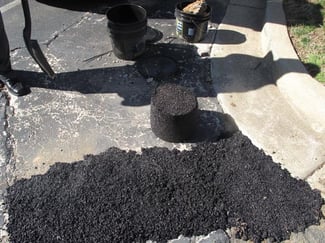
1. Cutting and Cleaning:
- Use a gas-powered pavement saw to cut out the damaged section of the asphalt.
- Clear the section of loose debris and sweep it clean.
2. Patching Asphalt Driveway:
- Pour enough pothole fix patch into the hole until the material is flush with the surrounding asphalt.
- Use a handheld metal tamper to compact the patch material thoroughly.
- Add some hot mix asphalt on top and tamp it down until the surface is even with the rest of the pavement.
3. Compaction:
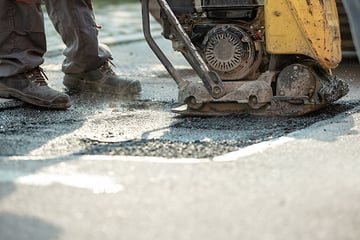
- For larger areas, use a vibrating plate compactor or an asphalt roller to give a smooth, even surface.
- Allow the patch to cure for at least 24 hours.
4. Sealcoating:
- Apply a sealcoat over the patched area to protect it and give it a uniform finish.
- This not only makes your repairs last longer but also improves the overall look of your once-broken asphalt.
By following these steps, you can repair large asphalt holes, ruts, and depressions yourself, saving you time and money. For more detailed instructions, check out our comprehensive guide on asphalt patching.
Your asphalt driveway will look brand new, and you’ll have the satisfaction of knowing you did it yourself!
Problem 4: Crumbling Asphalt on Your Driveway
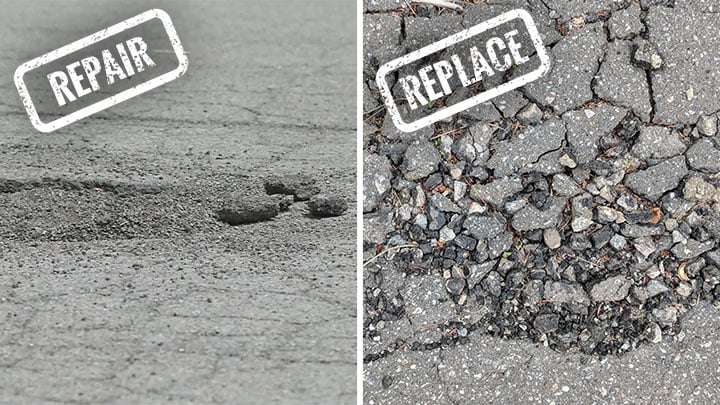
Crumbling asphalt is a clear sign that your pavement needs immediate attention. If you’re using a leaf blower and you see rocks getting blown away, it's time to take action. This level of damage typically means the asphalt has lost its structural integrity and might need significant repair or even repaving.
But don’t worry — you have options. Here’s how to repair crumbling asphalt:
The Solution: Repaving Damaged Asphalt
Depending on the extent of the actual damage, there are two options that you can choose:
 Asphalt Kingdom's Mini Infrared Asphalt Heater
1. Small Section Repair:
- Use an Infrared Asphalt Heater:
- Position the infrared heater over the damaged section and wait until the asphalt is completely heated.
- Once heated, use a sturdy rake or shovel to spread the material back into place.
- Tamp down until the area is completely compacted.
- Allow the patch to cure until it hardens before reopening it to traffic.
2. Extensive Damage:
- Call a Professional:
- For large areas of damage, contact a professional asphalt maintenance contractor to recycle the old asphalt in place.
- Professionals can evaluate the extent of the damage and recommend whether repaving is necessary.
MINI INFRARED ASPHALT HEATER
- Reheats asphalt for easy restoration
- For asphalt seams, alligator cracks, & more
- One-person operation
Preventive Maintenance for Your Asphalt Driveway
Asphalt restoration can be costly, which is why it’s crucial to address issues as soon as they pop up. Regular maintenance and timely repairs can save you from expensive overhauls and keep your driveway asphalt in top-notch condition year-round.
- Regular Sealcoating:
- Apply sealer to your asphalt driveway every 2 to 3 years to prevent extensive damage and prolong the life of your asphalt.
- Timely Repairs:
- Fill cracks and potholes as soon as they appear to prevent them from growing and causing more significant issues.
When to DIY vs. Contact a Professional
Knowing when to tackle asphalt repairs yourself and when to call in the pros can save you time, money, and a lot of headaches. While many minor issues can be handled with a bit of elbow grease and the right tools, some situations are best left to experienced professionals. Here’s a guide to help you decide:
When to Make DIY Repairs
Small Cracks and Minor Potholes
- Cracks Less Than 1 Inch Wide:
- These can be easily filled with cold-pour crackfill (for cracks less than half an inch) or hot-pour rubberized crackfill (for cracks less than 1 inch). Follow our step-by-step guides.
- Minor Potholes:
- Use cold patch asphalt restorer for small potholes and follow our step-by-step guides.
Sealcoating
- Regular Maintenance:
- Applying a sealcoat every 2 to 3 years can protect your asphalt and is a manageable DIY project with the right materials and equipment.
Basic Cleaning and Maintenance
- Surface Cleaning:
- Regularly sweep or blow off debris and hose down the surface to prevent moss and vegetation growth.
When to Contact a Professional
Large Cracks and Extensive Potholes
- Cracks Wider Than 1 Inch:
- These often indicate deeper issues that require professional assessment and repair.
- Large, Gaping Potholes:
- When potholes are too large for DIY patching your asphalt driveway, a professional can provide a more durable fix.
Structural Damage and Base Issues
- Ruts and Depressions:
- Areas with significant ruts, depressions, or uneven surfaces may indicate problems with the underlying base of your asphalt driveway, which professionals can properly address.
- Crumbling Asphalt:
- When large sections of asphalt are crumbling, it may require repaving or significant restoration that professionals are better equipped to handle.
Extensive Surface Damage
- Widespread Oxidation and Brittleness:
- If your asphalt has turned gray and brittle across large areas, it might be time for a professional evaluation to consider sealcoating or other treatments.
- Advanced Age and Wear:
- Older asphalt that has undergone multiple repairs may need a professional assessment to determine the best course of action, whether it's resurfacing or complete repaving.
Complex Repairs
- Infrared Asphalt Repair:
- You may prefer to have a professional bring their own specialized equipment like an infrared asphalt heater to make sure the job is done correctly.
- Recycling and Repaving:
- For extensive damage, professional contractors can recycle old asphalt and lay down new material with precision, ensuring longevity and quality.
Benefits of Professional Asphalt Assistance
- Expertise and Experience:
- Professionals bring years of experience and specialized knowledge to handle complex repairs efficiently.
- Advanced Equipment:
- Access to professional-grade equipment ensures high-quality results.
- Long-term Solutions:
- Professional asphalt driveway repairs often provide more durable and long-lasting solutions compared to DIY methods.
- Time and Convenience:
- Hiring a professional can save you a lot of time and effort, letting you focus on the more fun parts of life.
If you're unsure about the severity of the damage or the best approach to take, don't hesitate to reach out to the experts at Asphalt Kingdom. We even offer free pavement assessments to help you make an informed decision.
Where to Next With Asphalt Kingdom
Maintaining your asphalt doesn’t have to be a scary thing. Whether you choose to tackle the repairs yourself or bring in a pro, you’re making a smart investment in your property. At Asphalt Kingdom, we’re here to support you every step of the way.
If you're ready to roll up your sleeves, our comprehensive guides and top-notch supplies will give you all the tools and knowledge you need to get the job done right. You got this!
If however, you prefer to leave it to the experts, that’s great too! Our trusted contractor network is here to provide professional, reliable service to ensure your asphalt is in the best possible shape.
Still not sure what you need? No problem! We offer a free pavement assessment where our team will evaluate your asphalt and recommend the best course of action.
For your next steps and free advice, just give us a call at 1-866-399-5562. Let's get your asphalt driveway back in top shape together!
Frequently Asked Questions
Q: How can I repair cracks in my asphalt driveway myself?
A: Repairing small cracks in your asphalt driveway is easy with our step-by-step DIY guides. Use cold-pour crackfill for cracks less than half an inch and hot-pour rubberized crackfill for cracks up to 1 inch. Regular maintenance and timely repairs prevent further damage.
Q: When should I call a professional for asphalt driveway repairs?
A: Call a professional for large cracks wider than 1 inch, extensive potholes, structural damage, or crumbling asphalt. Professionals bring expertise and specialized equipment to handle complex repairs and ensure long-lasting results.
Q: How often should I sealcoat my asphalt driveway?
A: Sealcoat your asphalt driveway every 2 to 3 years to protect it from the elements and extend its lifespan. Sealcoating provides a fresh, black appearance and forms a protective layer against moisture.
Q: What are the benefits of hiring a professional for asphalt repairs?
A: Hiring a professional ensures high-quality repairs with advanced equipment and expertise. Professionals provide long-term solutions, saving you time and effort while ensuring your asphalt driveway remains in top condition.
Q: What causes asphalt driveways to crack and develop potholes?
A: Cracks and potholes in asphalt driveways are mainly caused by moisture from rain, snow, and spills. Moisture seeps into unsealed asphalt, freezes, and expands, weakening the foundation and causing the surface to split and crack.
Sign-up and Download this FREE Asphalt Kingdom E-Book today!
In this guide, you will discover:
- The top 10 pavement defects and how to identify them
- Step-by-step instructions on how to repair cracks and potholes
- Recommended tools and supplies to make the repairs
Download your free Asphalt Kingdom guide now and take the first step towards a better, safer, and more durable pavement surface.
Get Your Free Guide:
Top 10 Pavement Defects & How to Fix Them


.png?width=228&height=228&name=Mini%20Heater%20(1).png)


