Did you know that properly maintained asphalt can last up to 30 years?
That should be fresh in your mind every time you spot an issue with your parking lot. Neglecting repairs always leads to bigger, more expensive ones, and several fixes are easy enough for you to make without calling a contractor.
You can fix parking lot eyesores such as stains, cracks, potholes, faded asphalt, and chipping paint without breaking the bank, or your back.
DIY Asphalt Driveway Repairs
1. Asphalt Stains
The Problem: Blotchy asphalt is the definition of an eyesore, and spilled oil is often the culprit. Stains aren’t just a visual impairment If left untreated. Besides accumulating dirt and grime to become even more noticeable, they can also cause cracking and ruin the integrity of your asphalt.
The Fix: No, you can’t just sealcoat over stains. They'll deteriorate the new layer and bleed through. You’ll waste time and resources on a quick fix that doesn’t work. Instead, treat the stains with Asphalt Kingdom’s industrial-strength Universal Asphalt Degreaser Cleaner. Apply it with a broom or rag. It’s effective and environmentally safe.
2. Cracks
The Problem: Cracks can form for any number of reasons. A poor foundation or asphalt that is either too thick or too thin can lead to cracking. The normal wear and tear of traffic can lead to cracking. Weather—heat, rain, ice, and snow—can lead to cracking. No matter the cause, cracks should be addressed as soon as possible. If they’re neglected, they can spread and become potholes.
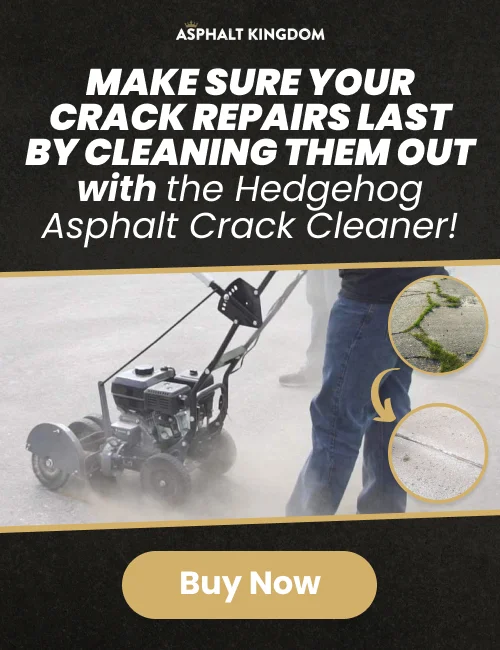
The Fix: You can repair cracks with crack fill, but you need the right conditions. The weather needs to be at least 60 degrees Fahrenheit and dry for the crack fill to set properly. If so, the first step is to clean the cracks thoroughly. Remove all debris in and around the crack, and kill weeds by removing their roots or spraying them with a bottle of vinegar.
Then it’s time to repair. Using sand, fill all cracks so that they’re a half-inch in depth. Apply the crack fill then smooth the repair over with a squeegee.
3. Potholes
The Problem: Weather and asphalt are mortal enemies. In the case of potholes, water seeps through cracks in the surface and erodes the foundation—or, in cold weather, freezes and expands, leaving gaps. As cars drive over these crevices, the surface sags and eventually breaks. As with all of these eyesores, treat potholes as soon as you find them.
The Fix: Small potholes can be repaired easily with cold asphalt patch. The first step is to square the edges of the pothole with a hammer and chisel (a flathead screwdriver also works just fine). Next, clean the pothole and the asphalt around it thoroughly. Then level the foundation to a one-inch depth using a mix of coarse gravel and sand. Add cold patch in two layers, tamping down after the first to prevent air bubbles, so that the pothole is overfilled by about an inch.
Finally, use a vibrating plate to tamp down the fix. If you don’t have a vibrating plate, lay a piece of plywood over the pothole—with oil on the face-down side to prevent it from sticking—and slowly drive over it with your car.
4. Faded Asphalt
The Problem: The discoloring of asphalt is actually a result of oxidation. The asphalt mixes with the oxygen in the air and, over time, fades to an ugly grey. Heat, cold, rain, snow, and traffic add to that effect and cause the aforementioned problems of cracks and potholes.
The Fix: A fresh layer of sealer will have your asphalt looking brand new. But it’s more than just an eye-pleaser. Sealer protects the material underneath, making it a crucial aspect of asphalt maintenance.
Before you start sealcoating, prepare the surface by fixing all cracks and potholes and thoroughly cleaning it. It also helps to protect areas around the asphalt with cardboard and tape. (Enlisting a teammate here helps: One person sealcoats edges, the other walks with protective cardboard.)
Sealcoat the sides and top edge first—contractors would use a sprayer, but a broom or squeegee works just fine for homeowners—then make your way back and forth down the surface. Remember: Always apply two thin layers instead of one thick one.
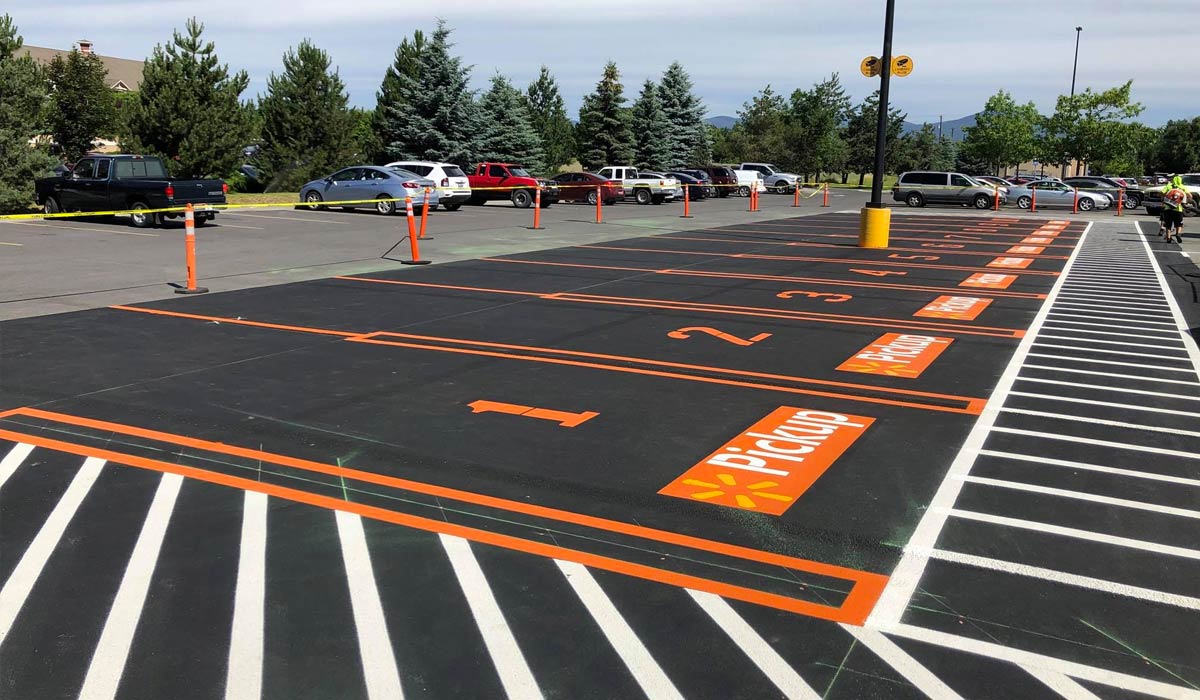
5. Chipping or Fading Parking Lot Lines
The Problem: You may need to repaint your parking lot lines because you recently sealcoated. You may need to touch up chipping or fading paint. Either way, maintaining sharp lines is an important part of keeping your parking lot safe. It should be addressed as soon as you can.
The Fix: This basic line striping machine is ideal for smaller parking lots. At just $149, it’ll keep your parking lot safe and looking fresh. Asphalt Kingdom also has a useful paint calculator, so you know exactly how much material to buy for your job.
Before you line stripe, vigorously clean the areas around the paint, clearing away all debris. Then apply an even, crisp layer of paint over the old line, or a chalk one you’ve drawn.
Keep in mind that you should be line striping every two years.
All of the above parking lot eyesores can be remedied with minimal effort at a low cost.
Now, if you do think a problem might be too big to tackle, give us a call. We'll talk you through your options, so you can make the best decision for yourself or your business.

.png?width=200&height=300&name=First%20page.pdf%20(1).png "Start a Business Blueprint")